Volume of Interest (VOI)
Step by Step Guide to create a VOI
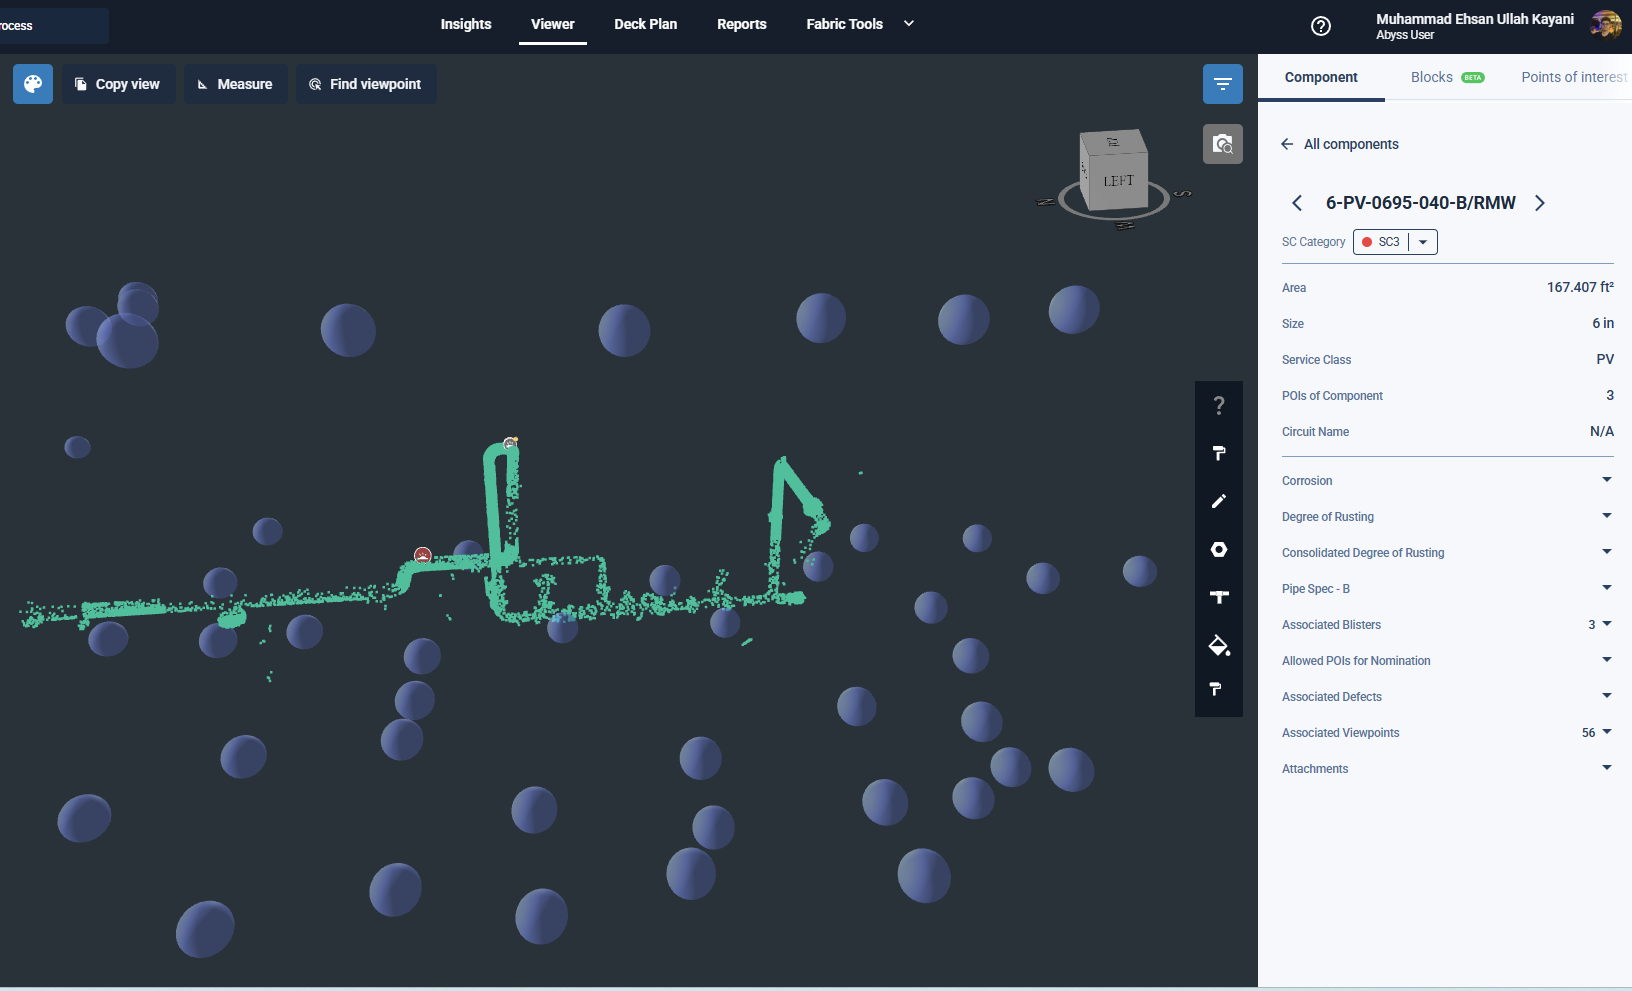
Go to the Viewer tab.
Select the required component.
The selected component opens in an isolated 3D view.
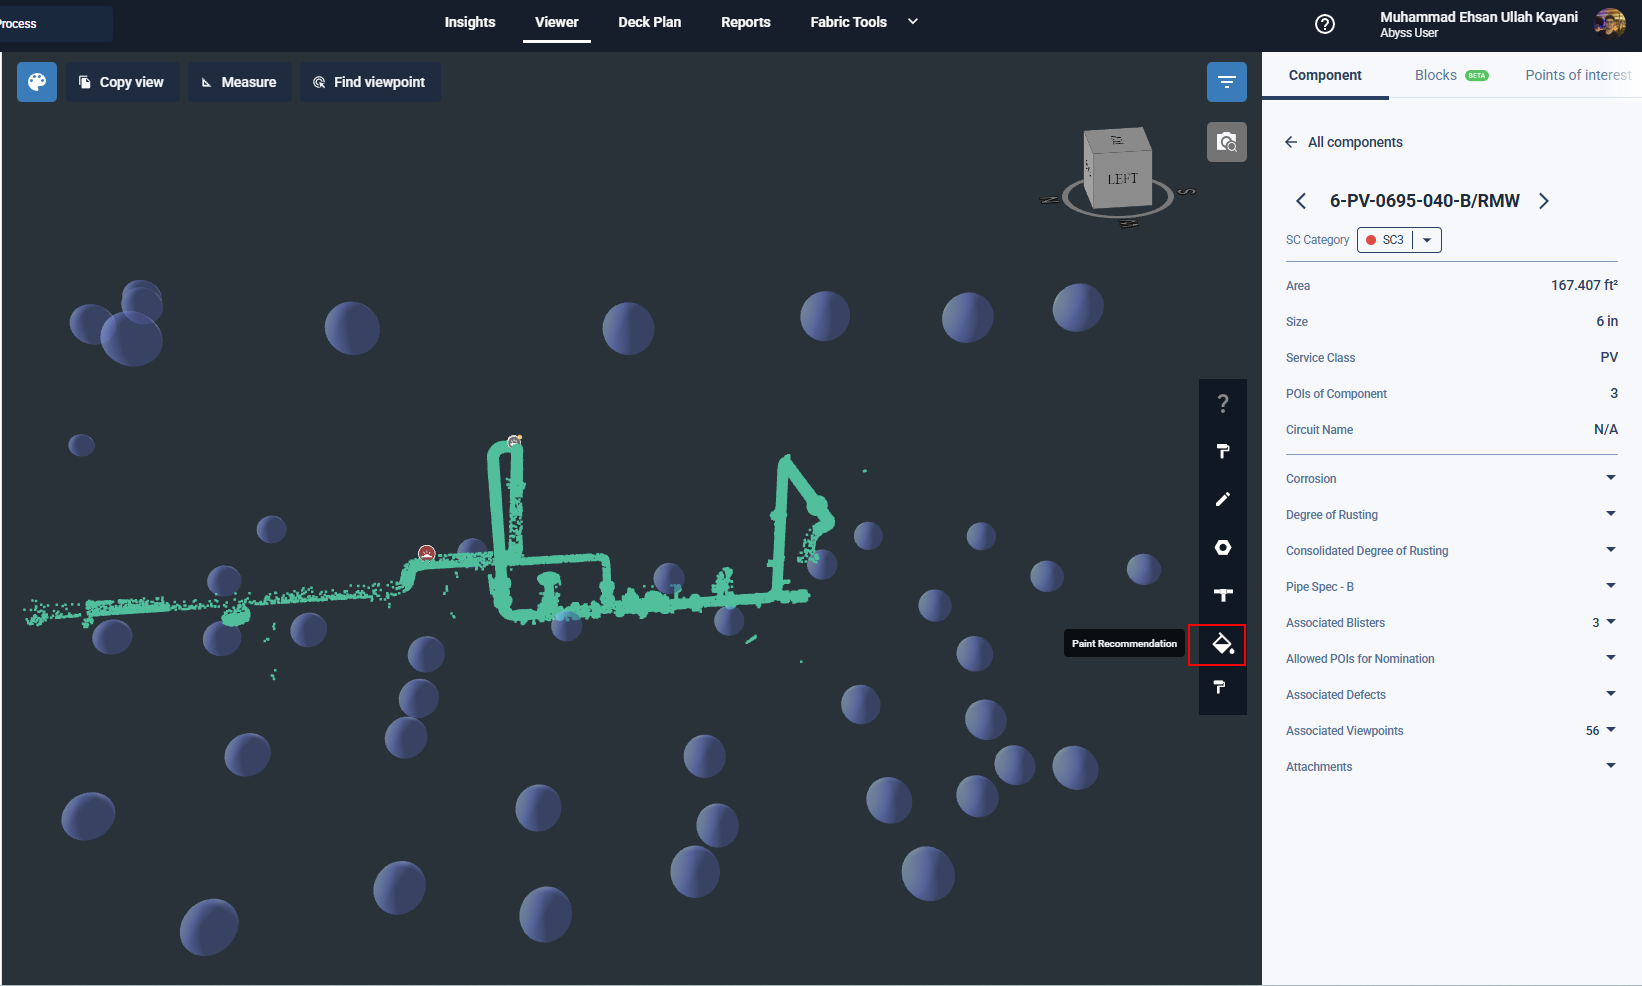
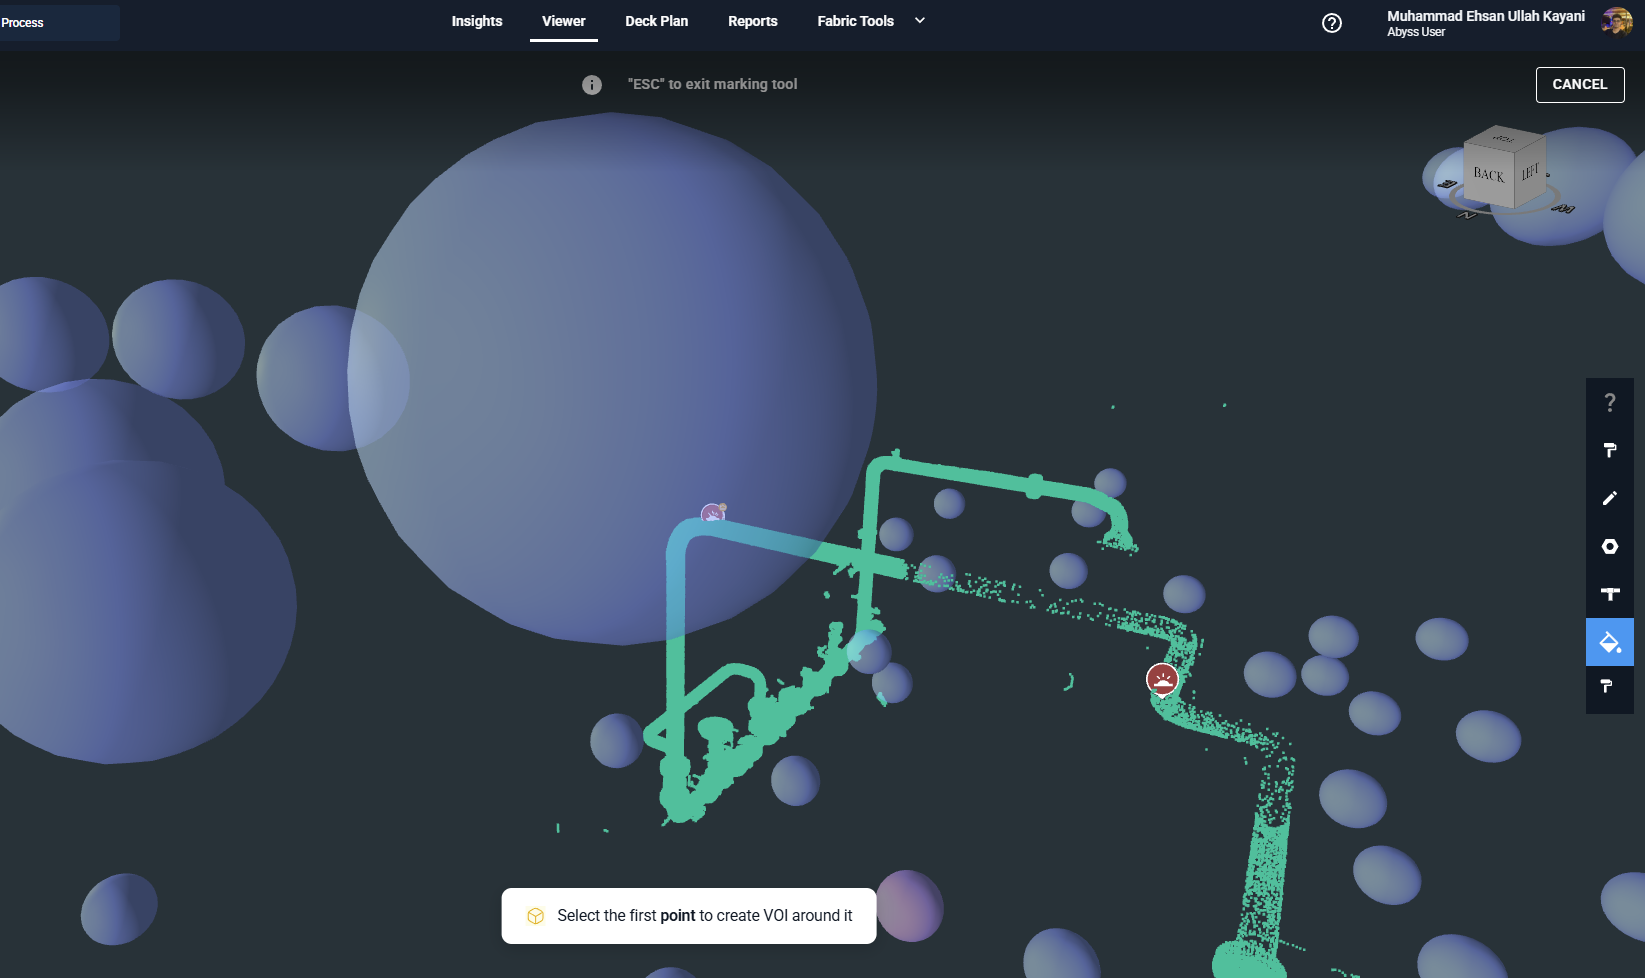
From the side toolbar, click the Paint Recommendation icon. (The icon and name of VOI can be different based on need)
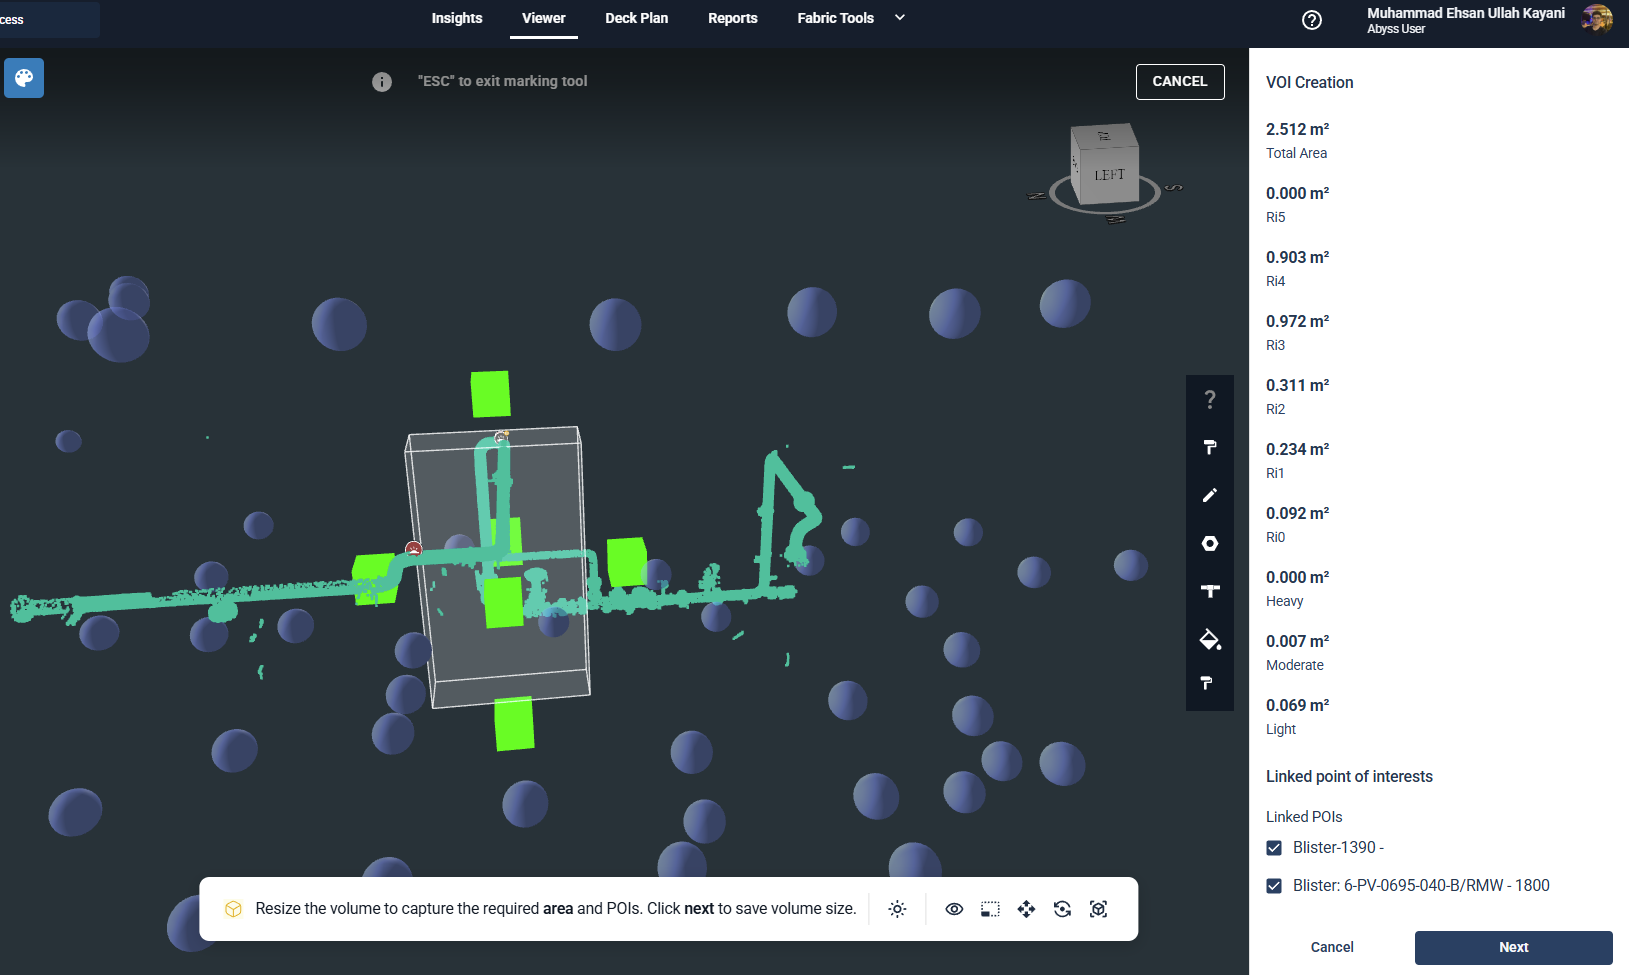
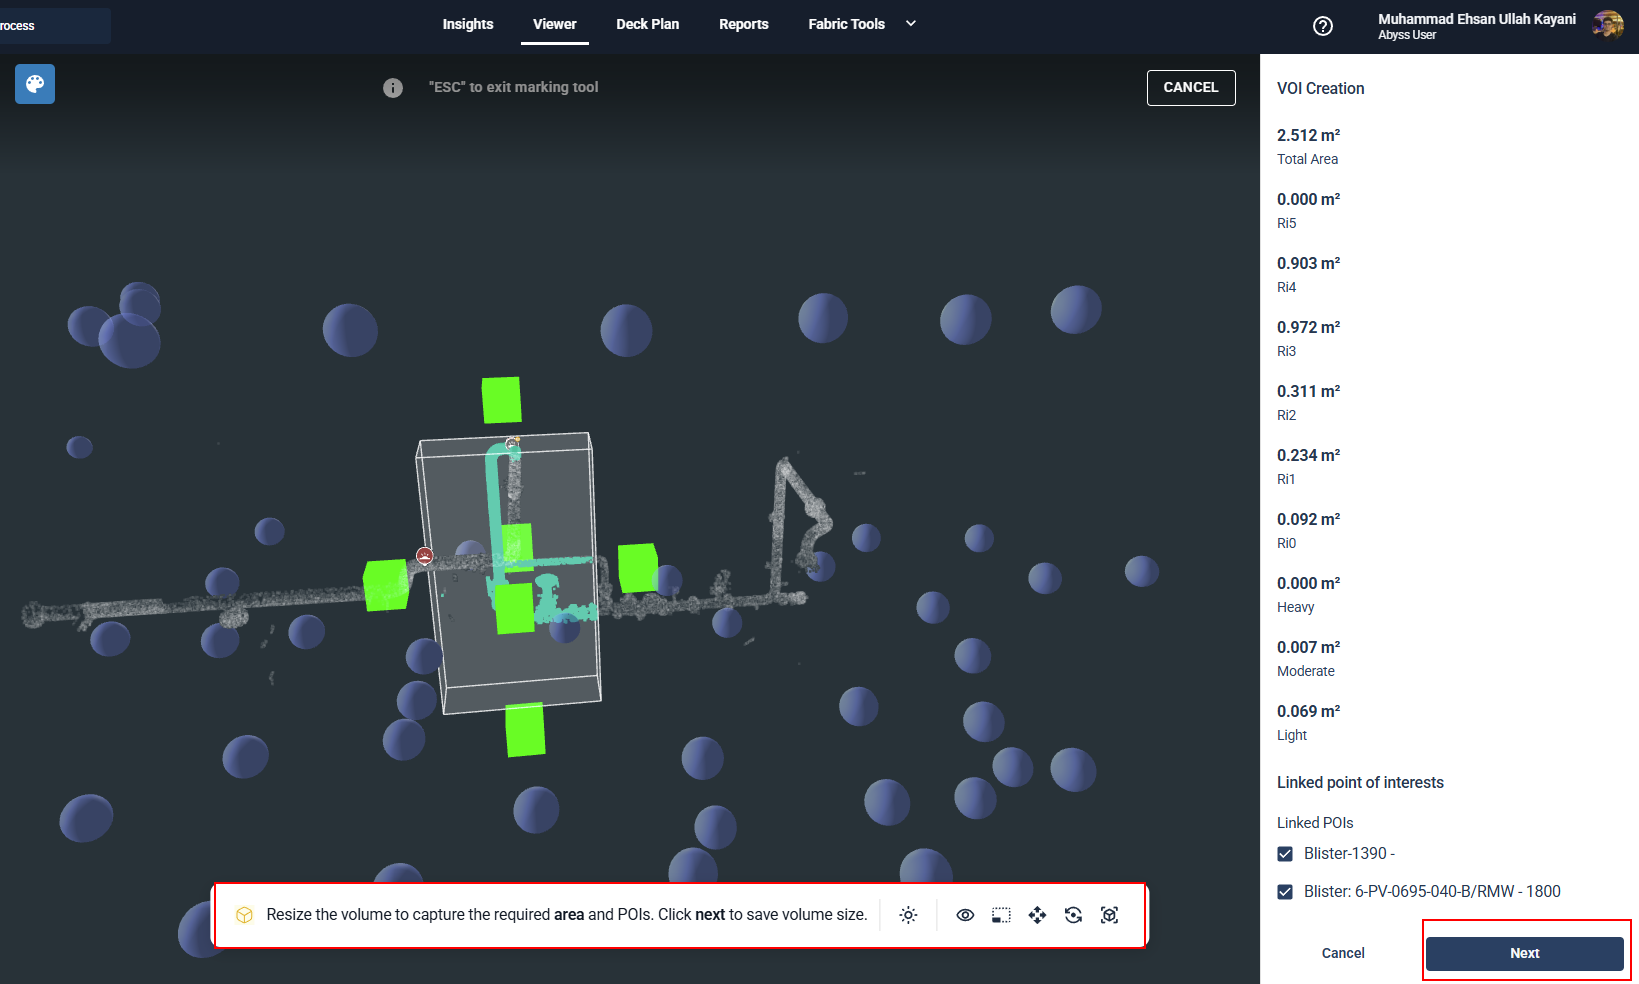
The system shows a prompt after the tool is selected. The VOI can now be dropped in 3d mode or within an image. The workflow remains the same with the only change that after a VOI is dropped inside an image, the system automatically exits the image view to allow the user to resize in 3d. Hit Next when you are done resizing the volume. While resizing the VOI, in the Side Details tab:
The Total Area updates dynamically.
The Ri0 to Ri5 values update automatically.
The Light, Moderate, and Heavy values also update in real time.
The linked POI list is also shown.
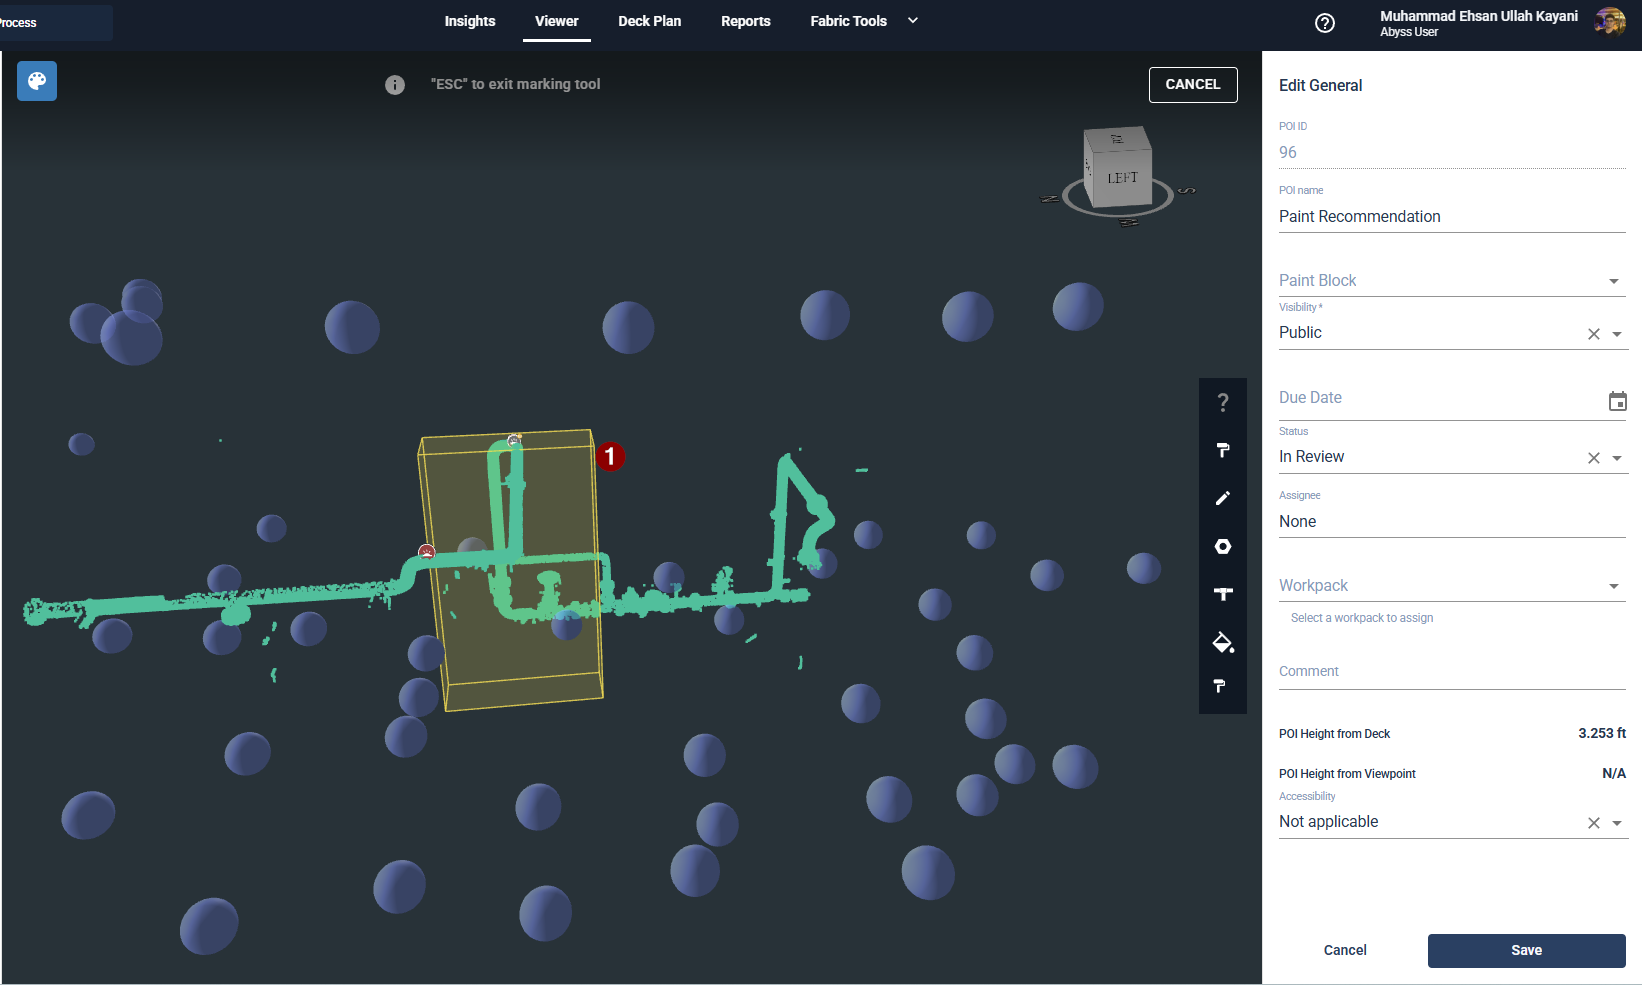
In the Side Details tab, fill in the required information, for example:
Due date
Status
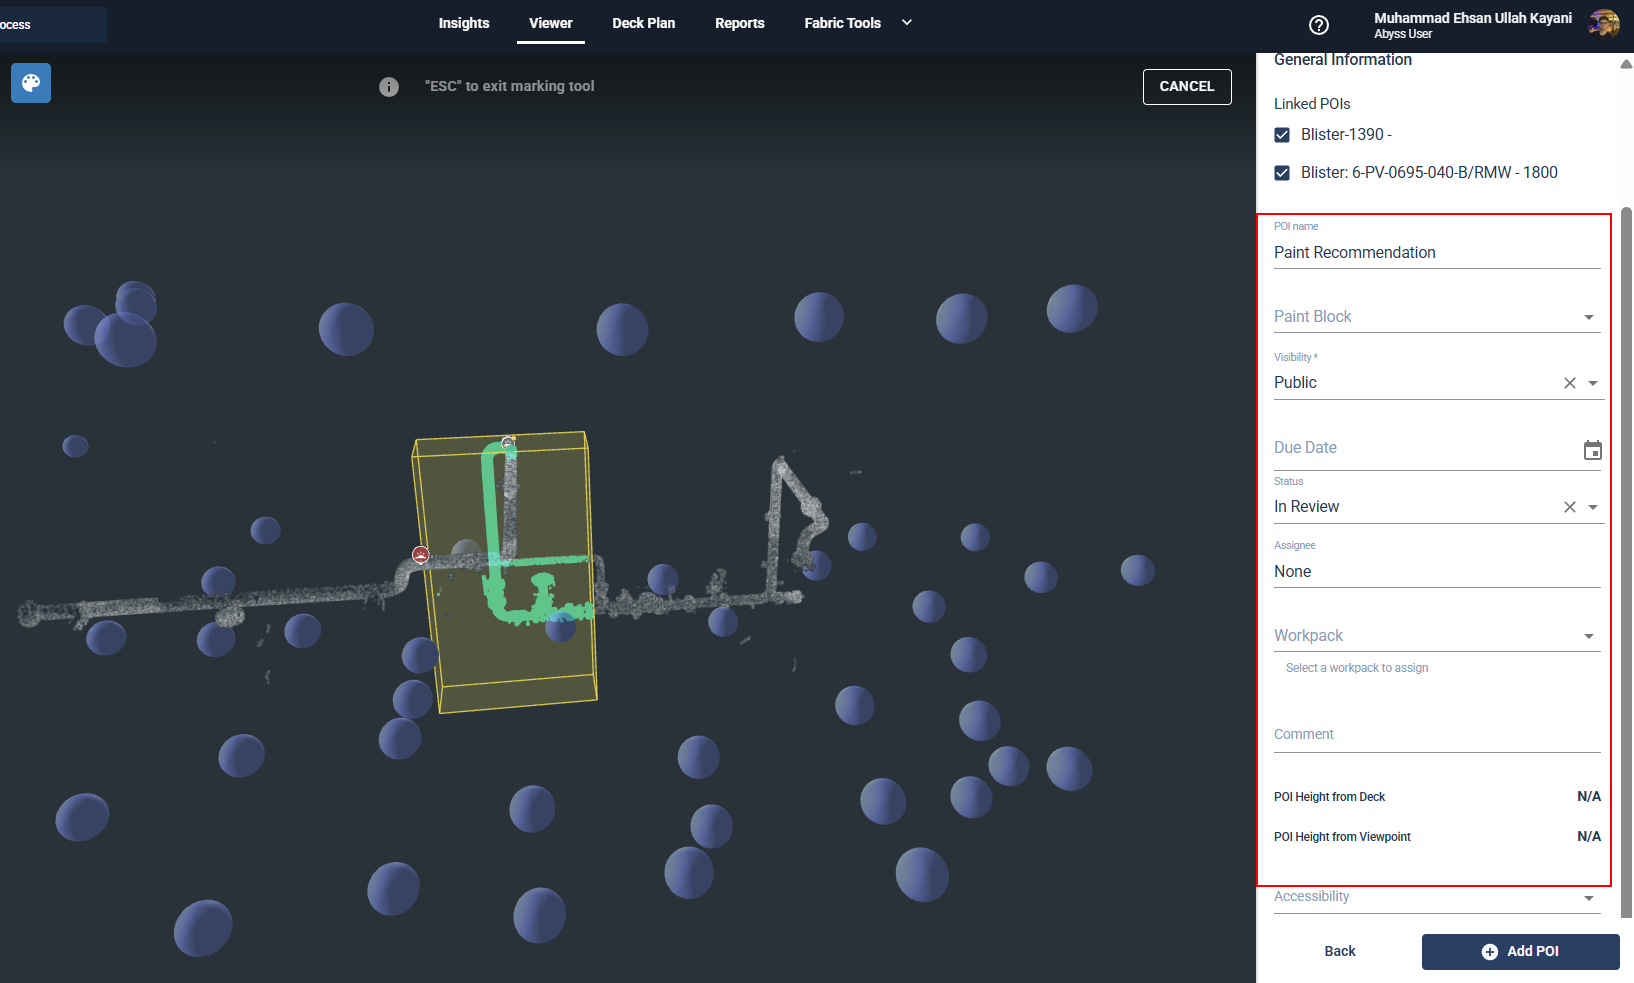
Click Add to save the VOI.

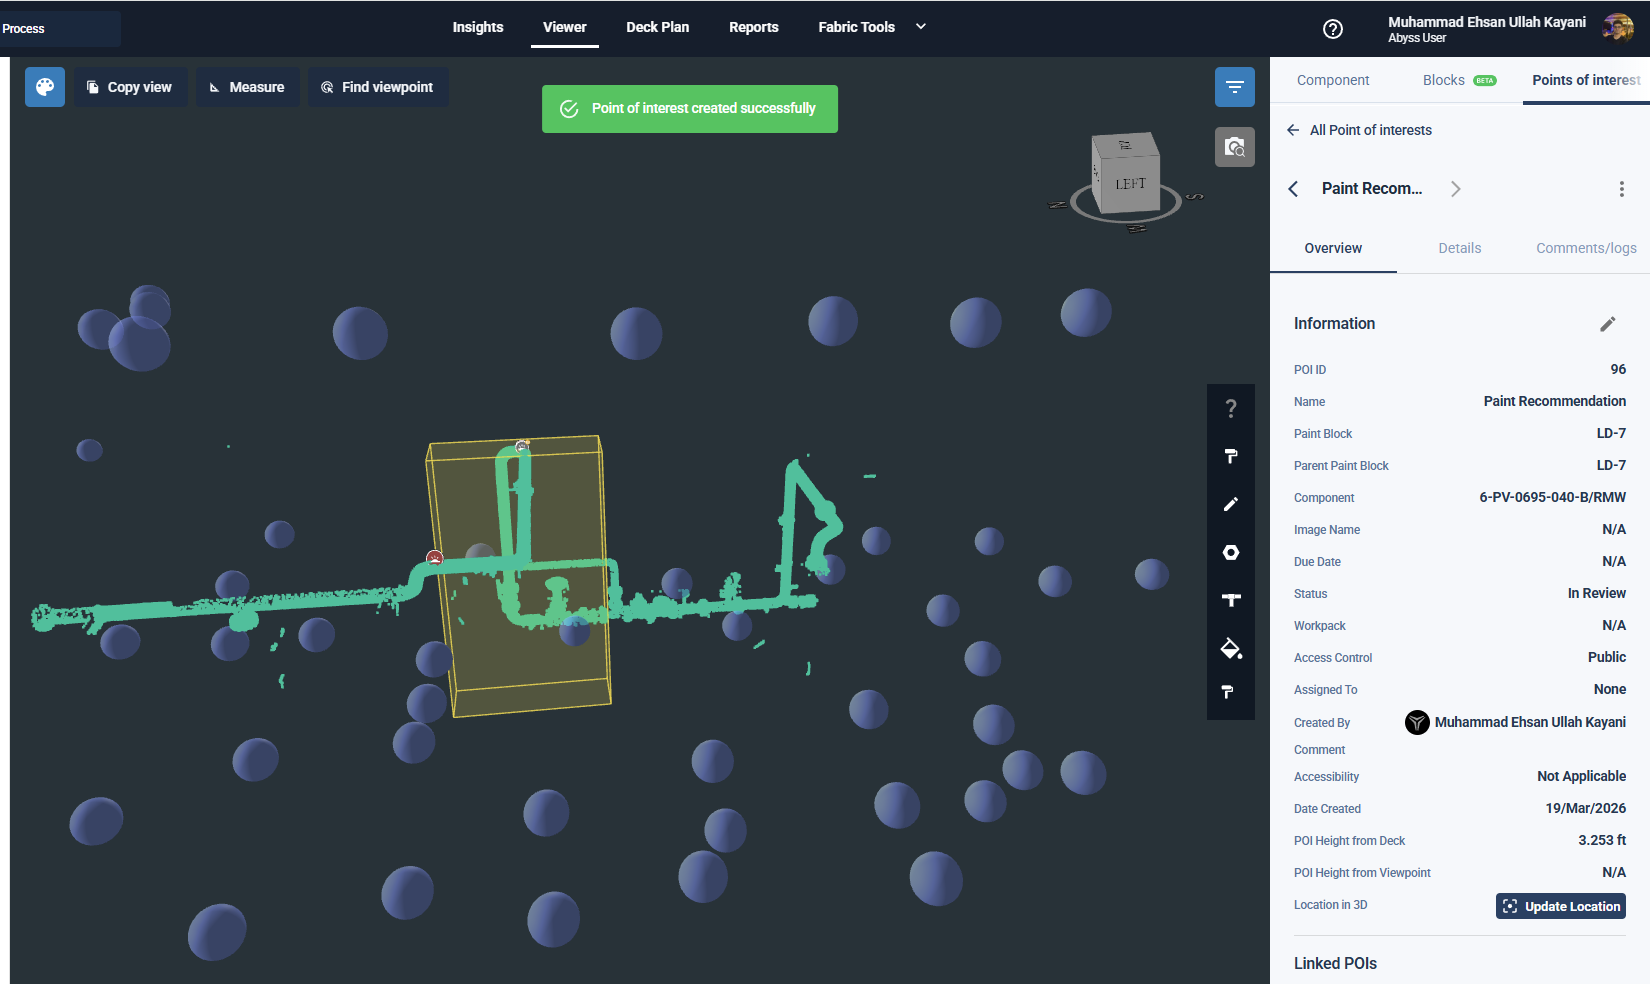
7. After clicking Add , the VOI is created and displayed in the 3D viewer along with a success message.
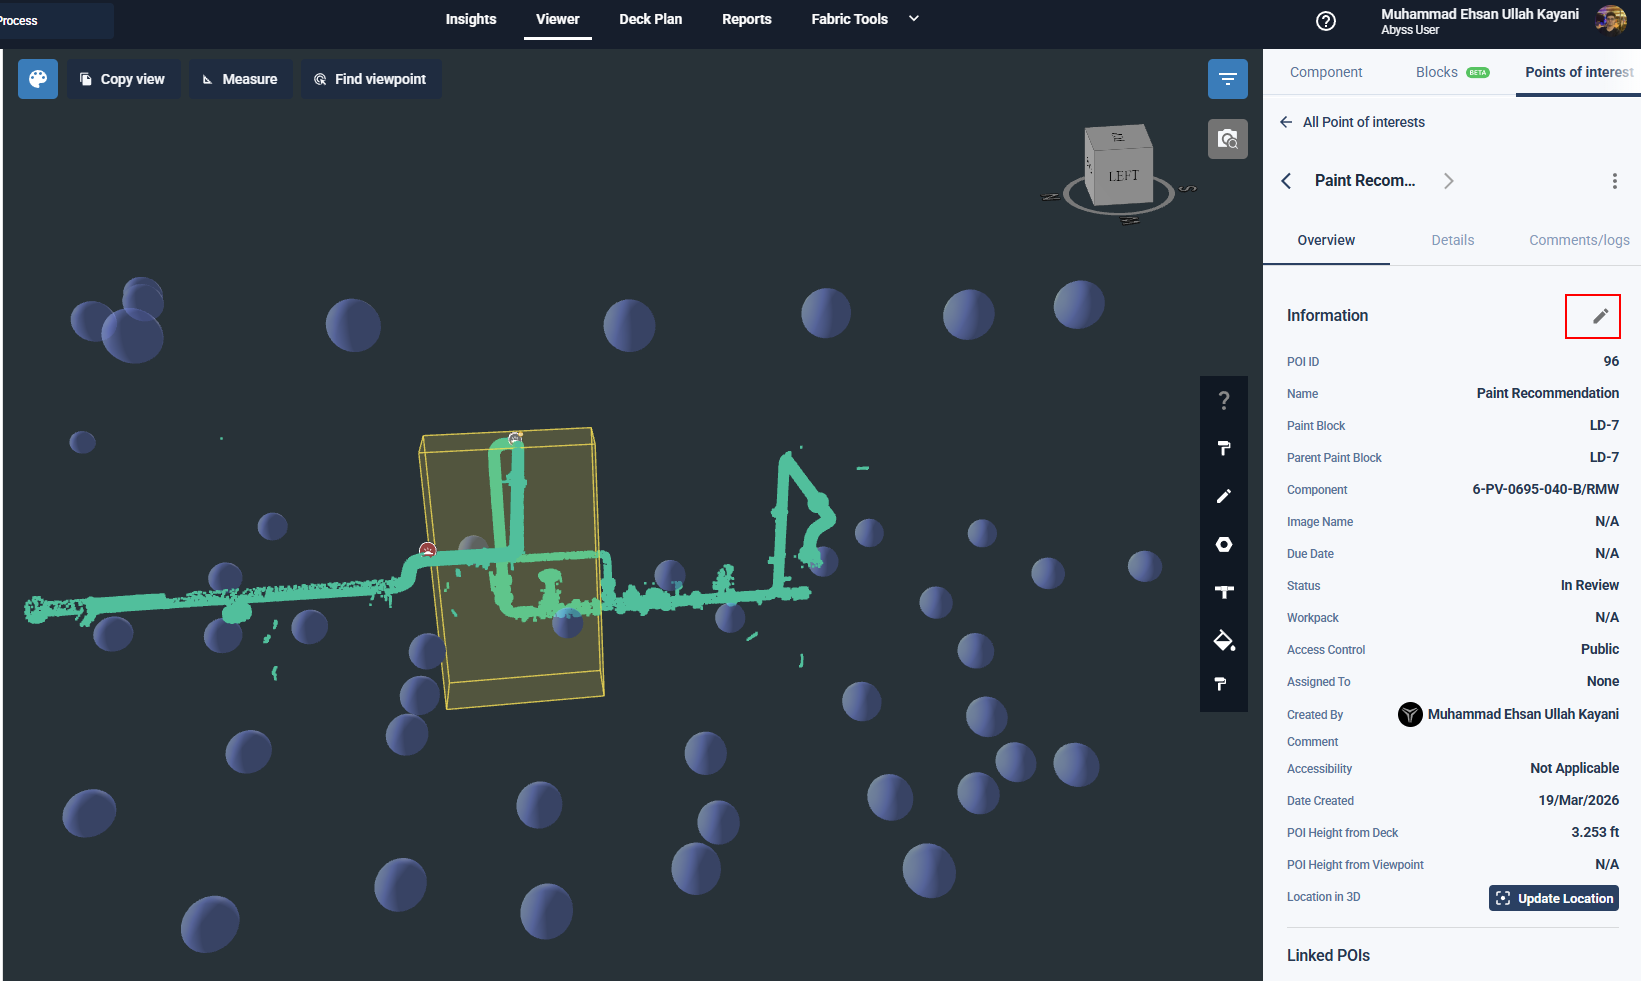
Step by Step Guide to edit a VOI
Click on the pencil icon on the Overview tab of an existing VOI to trigger the edit mechanism.
The edit menu opens, the user can now click on the VOI itself to resize the volume. This triggers the same workflow as in the creation. After pressing Next, the user can edit field metadata if needed, otherwise hitting the Save button saves the changes in size and fields.