Point of Interest (POI)

Welcome to the comprehensive user guide for the Point of Interest Tool within Abyss Fabric. Whether you're a novice or an experienced user, this guide was crafted to simplify your navigation through the intricacies of this tool. We’ve focused on enhancing your experience by meticulously detailing the steps for adding, navigating, editing, and removing a point of interest within Abyss Fabric. You’ll also find that special attention was given to the nuanced handling of blisters, ensuring that you're equipped to measure and manage them with precision.
We hope this guide helps you unlock the full potential of Abyss Fabric's Point of Interest feature.
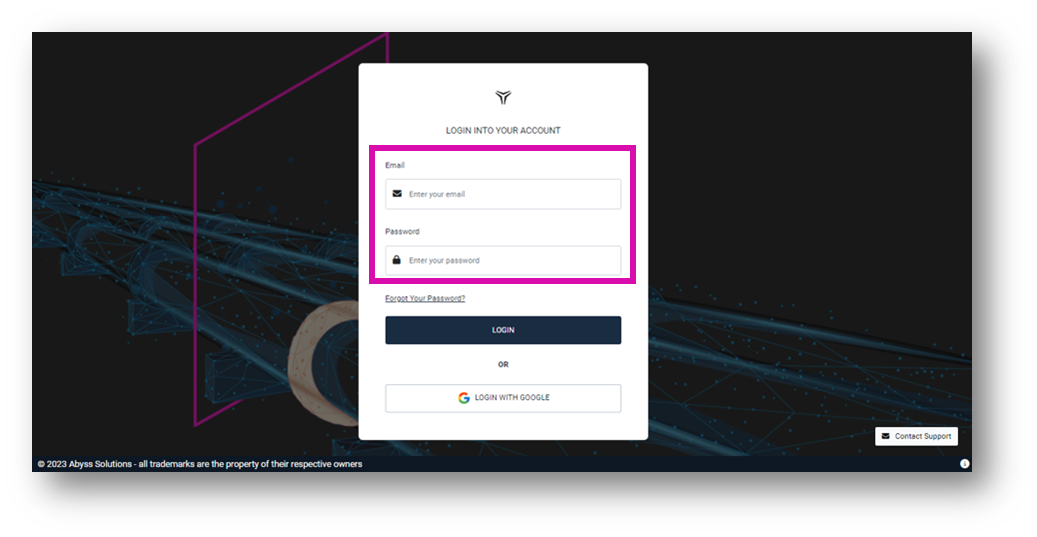
You must first enter your credentials to log in to Abyss Fabric v2.
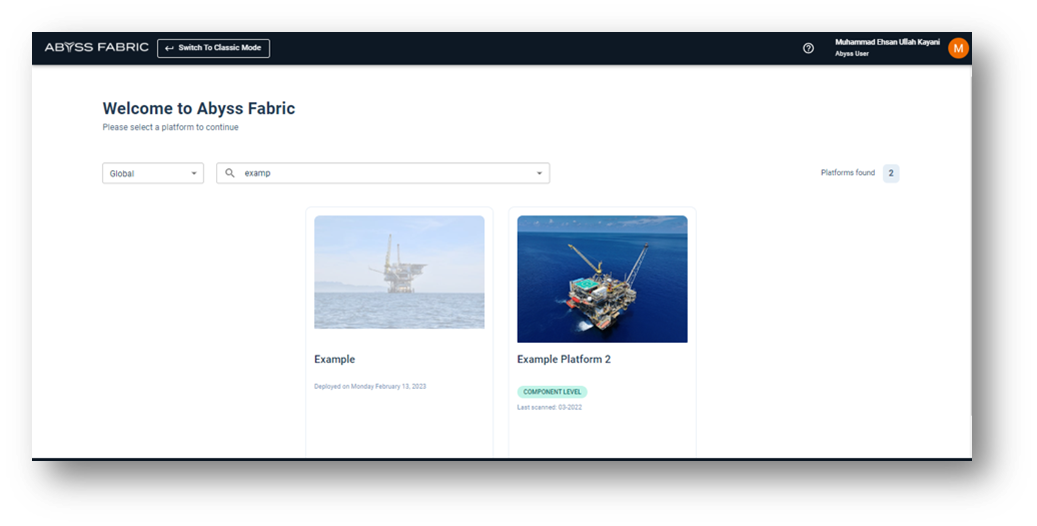
Once you’ve logged in, you will see all available platforms. You can also search to filter the results. Click on the platform you wish to examine closer.
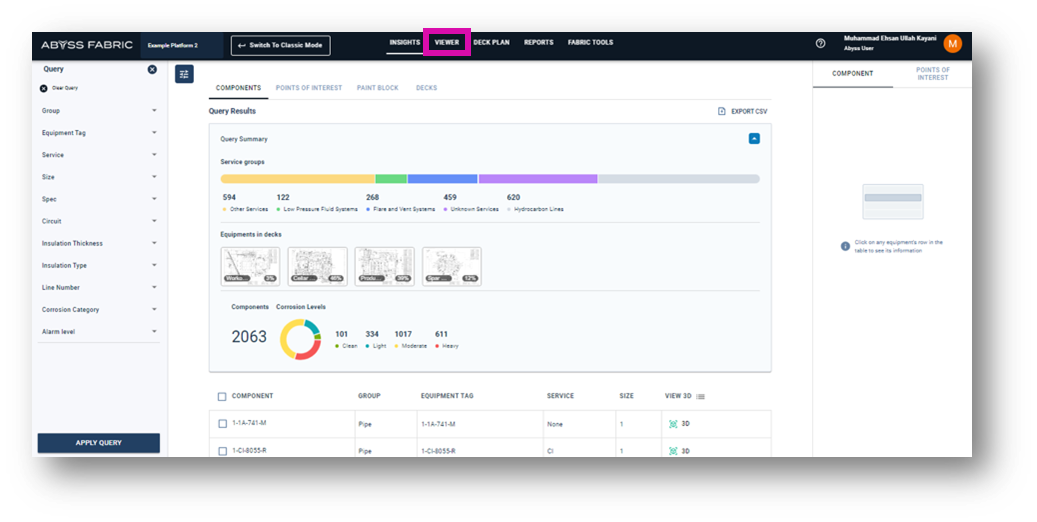
Upon selecting a platform, you will be directed to the Insights page. There you will see a high-level summary of the components associated with that platform. You can toggle between the Insights page and 3D navigation by selecting the Viewer tab.
When you switch to the Viewer tab, you will see the 3D point cloud of the entire platform. Within the right navigation panel, you’ll find the list of components.
To keep a point in focus hit Ctrl + Click on a point cloud. When you pan, zoom, or rotate around the screen, that selected point becomes the pivot. Scroll your mouse to zoom in and out. Holding the right click on your mouse allows you to pan in 3D. Finally, holding the left mouse button allows you to rotate the asset.
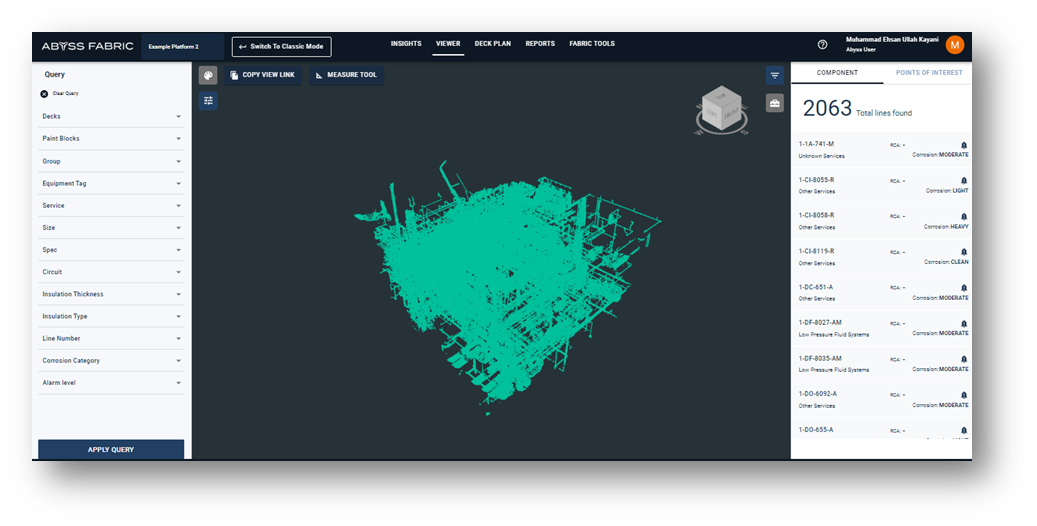
By clicking on a component within the point cloud, that component will become highlighted in white. The associated component tile will be highlighted in black in the right-hand panel.
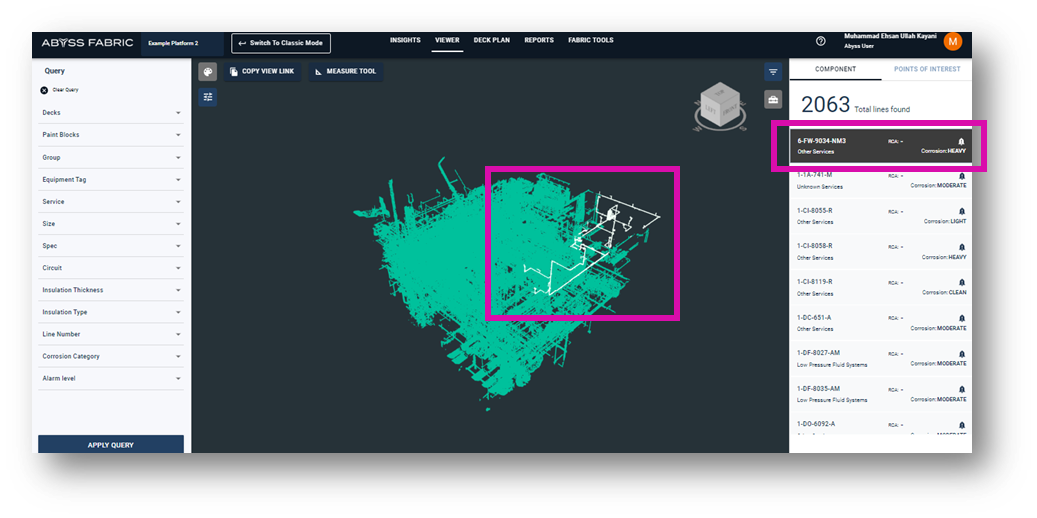
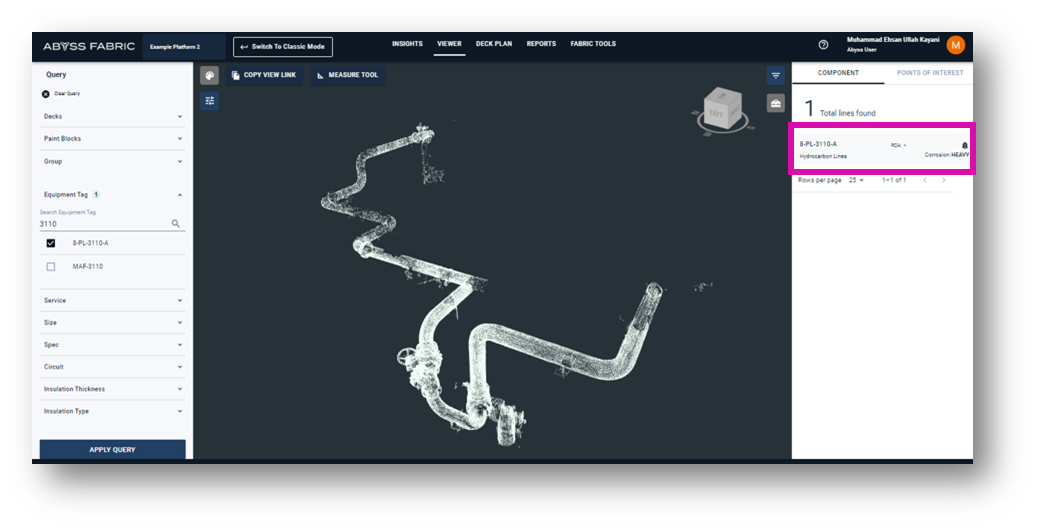
Within the left-hand panel, you can search for a component or use the fields to filter for a specific query. As an example, ‘3110’ was searched. Multiple filters can be added by selecting checkboxes.
Select an asset of your choice.
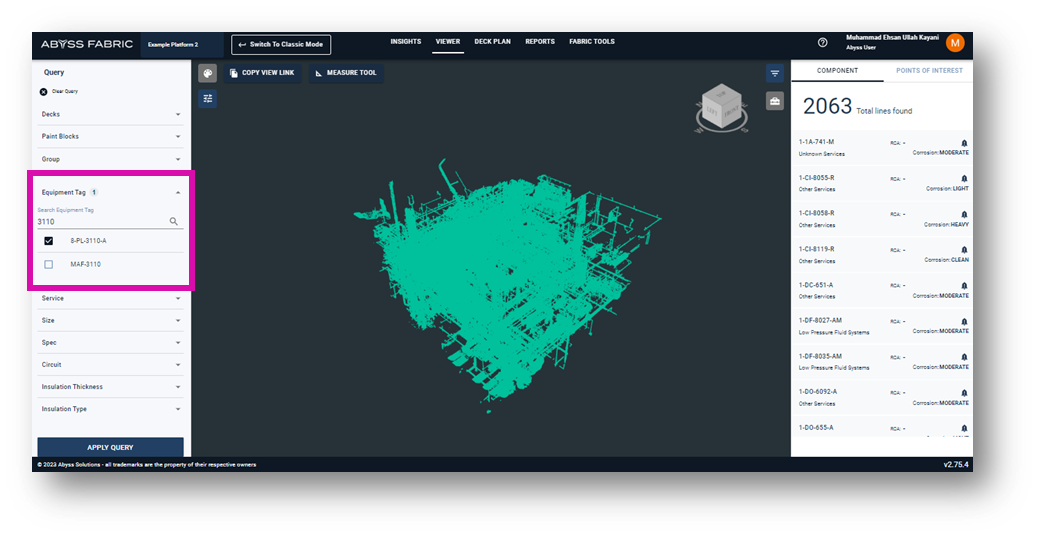
Once the filters are selected, click Apply Query. All components outside of the query will be removed.
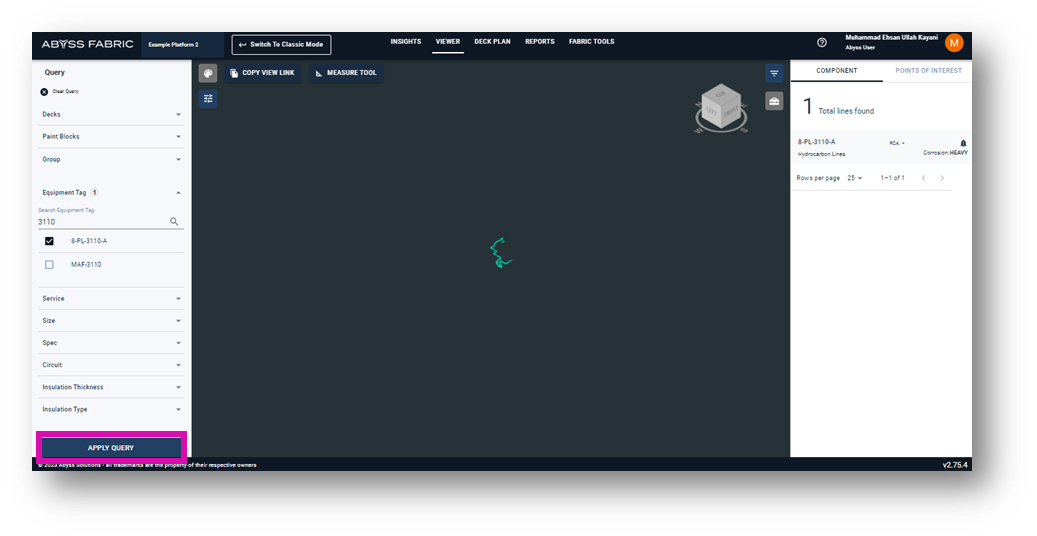
Hovering over the component name within the right-hand panel highlights the desired asset in white. Clicking the component tile will take you to an isolated view.
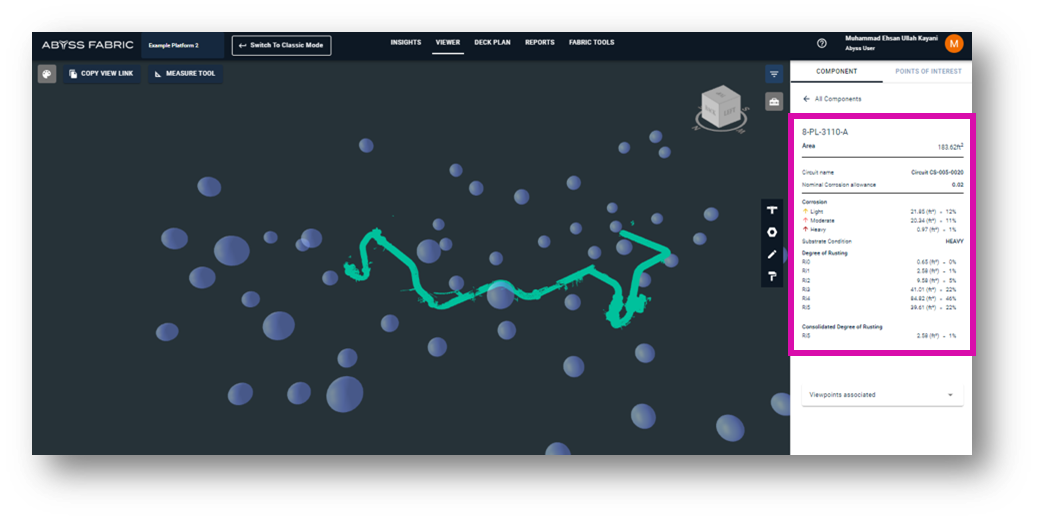
The default isolated view shows the component information in the right-hand panel. You will also see all other images associated with the selected asset.
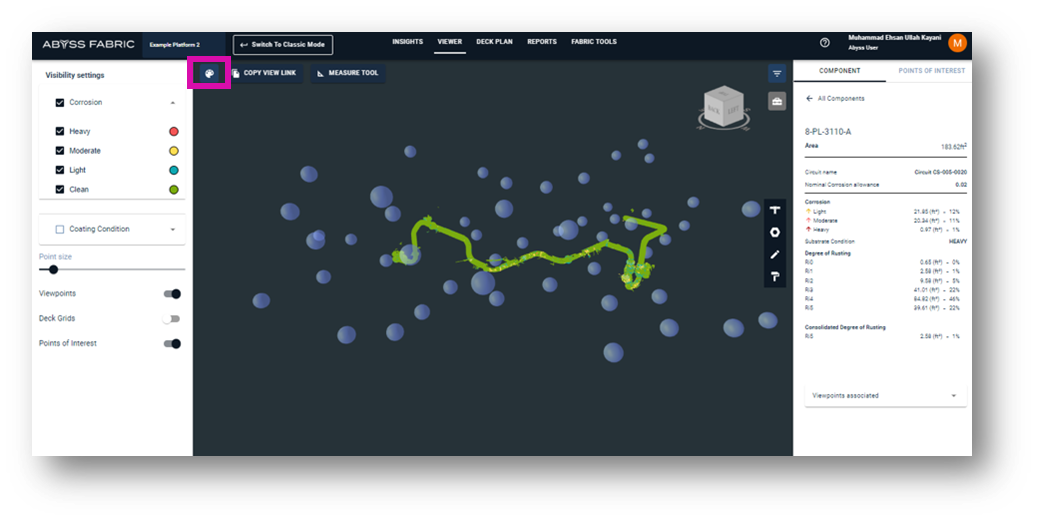
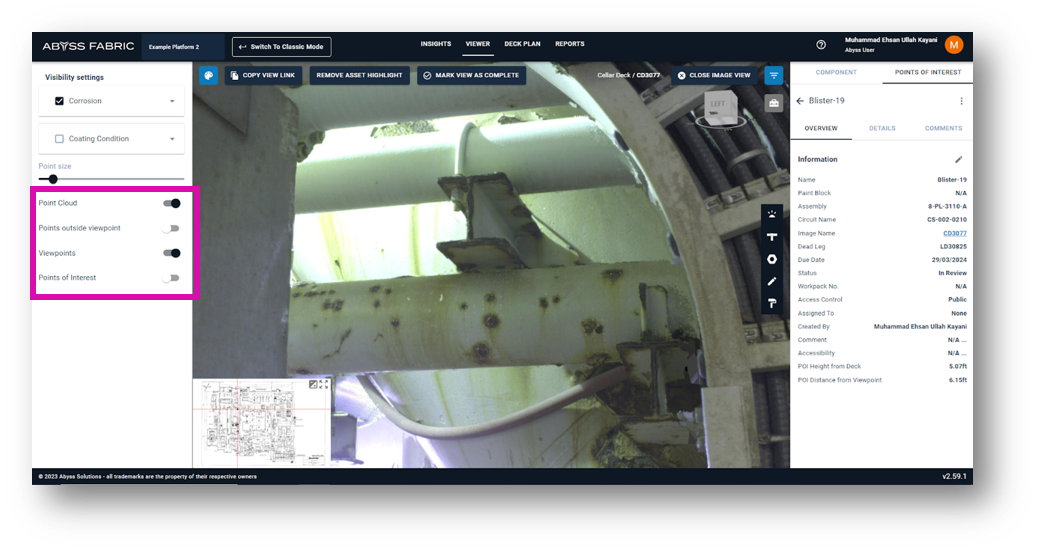
By selecting the color palette icon on the left-hand side, you can expand visibility settings. This allows you to see different visuals like corrosion or coating conditions.
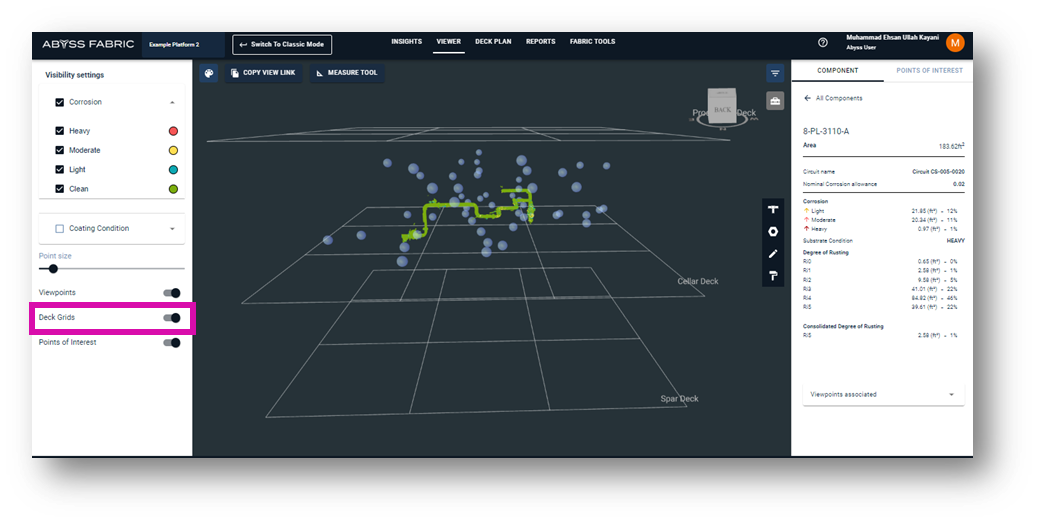
You also have the option to view the selected component within the deck grids to understand where the asset is on the platform.
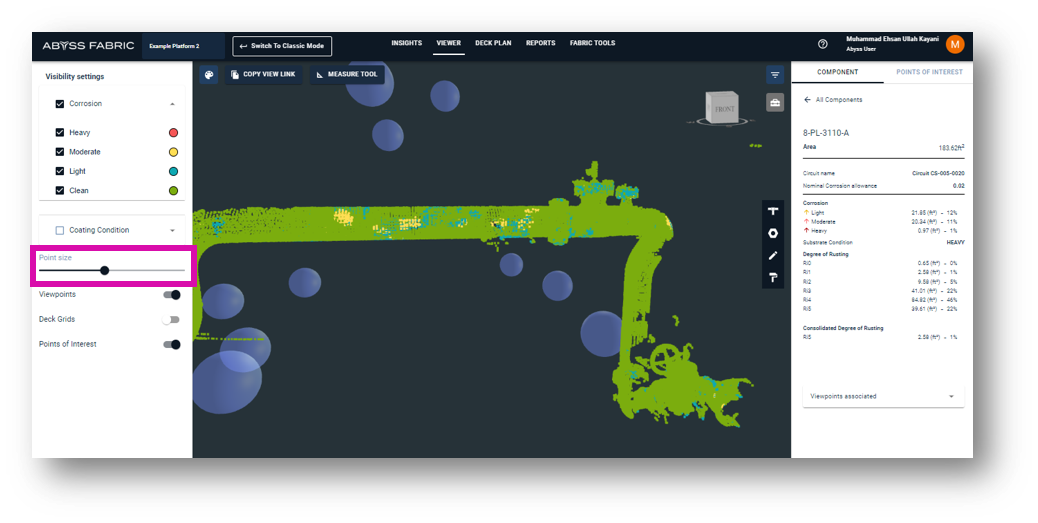
You can also adjust the point cloud size by using the slider found within the left navigation panel.
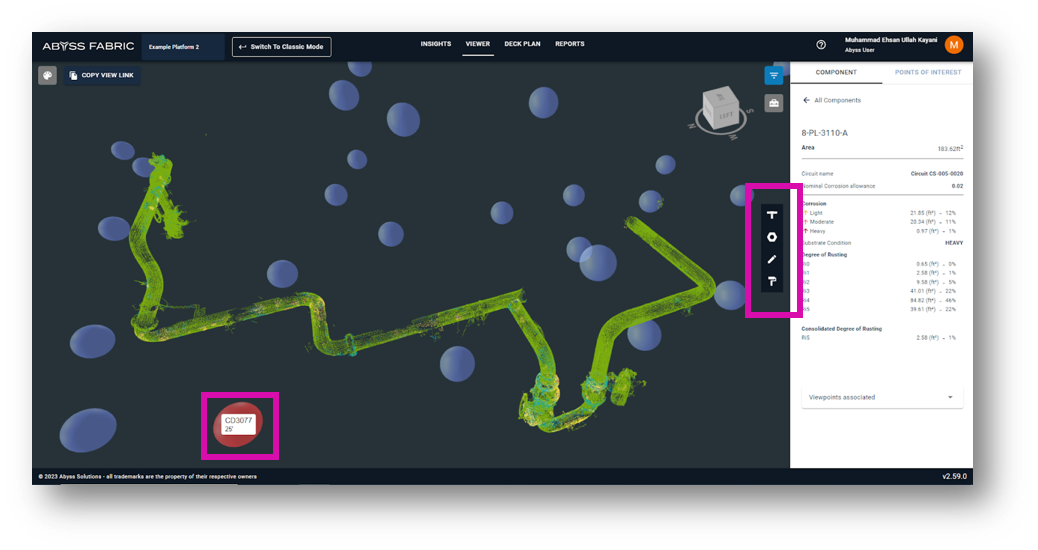
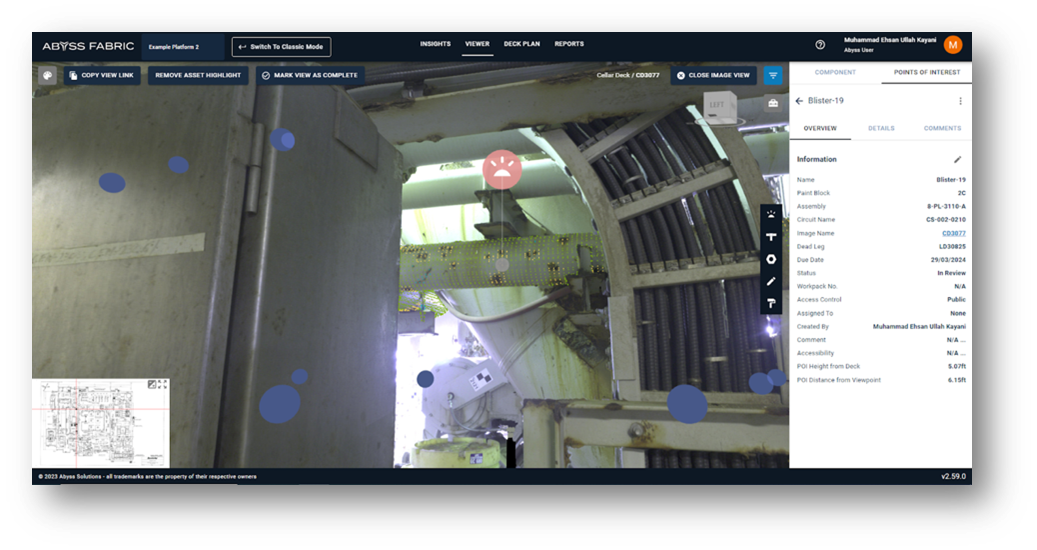
Once you select an asset, multiple spheres will appear in the Viewer. The spheres indicate an image is available from a specific angle of the selected asset. If you hover over the sphere, you will see its name.
Within the Viewer, you can add points of interest including Hot Bolting, CUPS, Paint, and Other. If you click the sphere, you will jump to the image view. Here, you will be able to add a Blister point of interest.
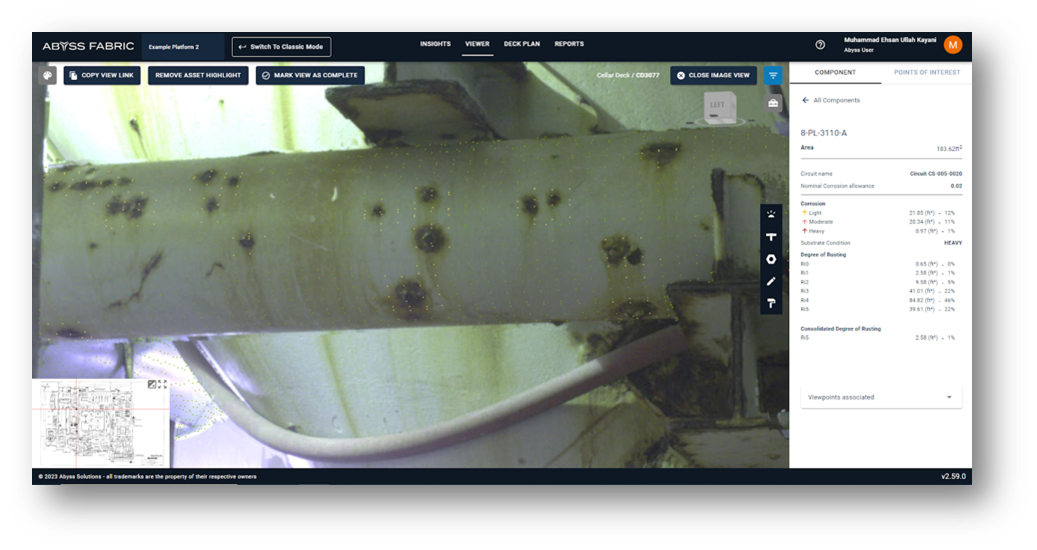
Upon selecting the Image View, you can pan around an image by holding the left button on your mouse.
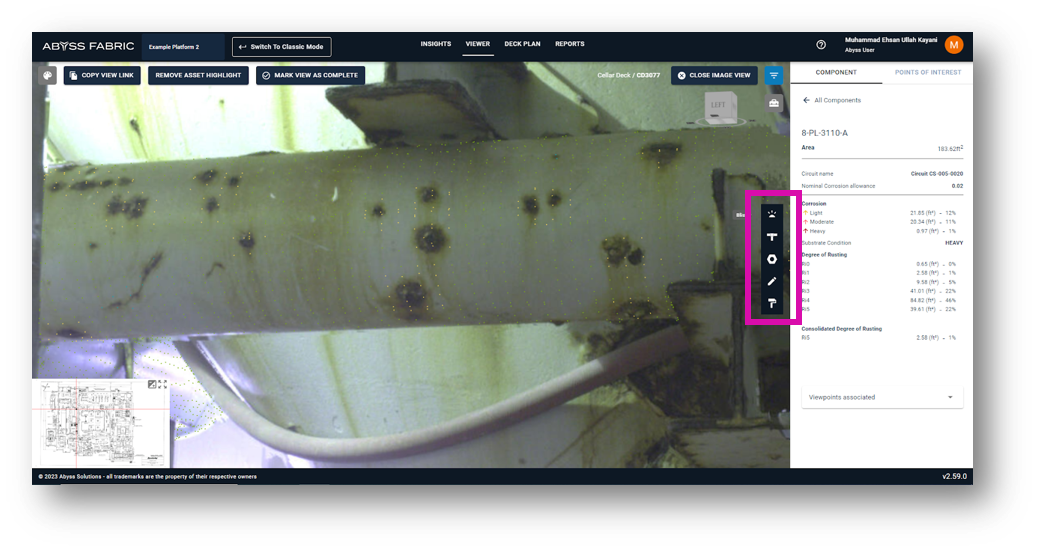
When you’re ready to identify an area of concern, select what you’d like to identify on the Point of Interest (POI) toolbar. Again, you have the option of indicating a Blister, CUPS, Hot Bolting, Paint, or Other. For this guide, we will use the Blister Point of Interest.
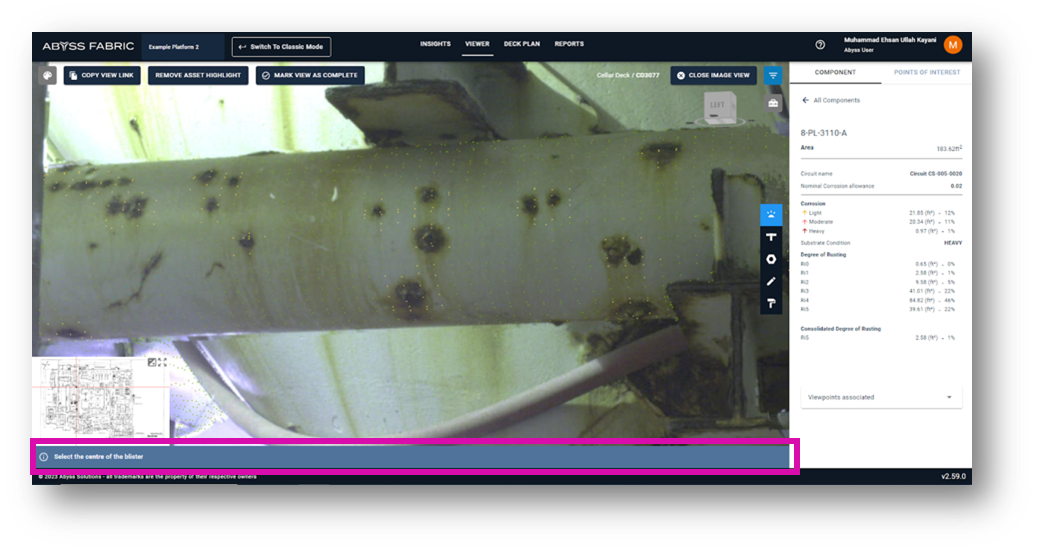
Once you select the Blister icon, you will be prompted to identify the center of the blister. This prompt appears at the bottom of the screen.
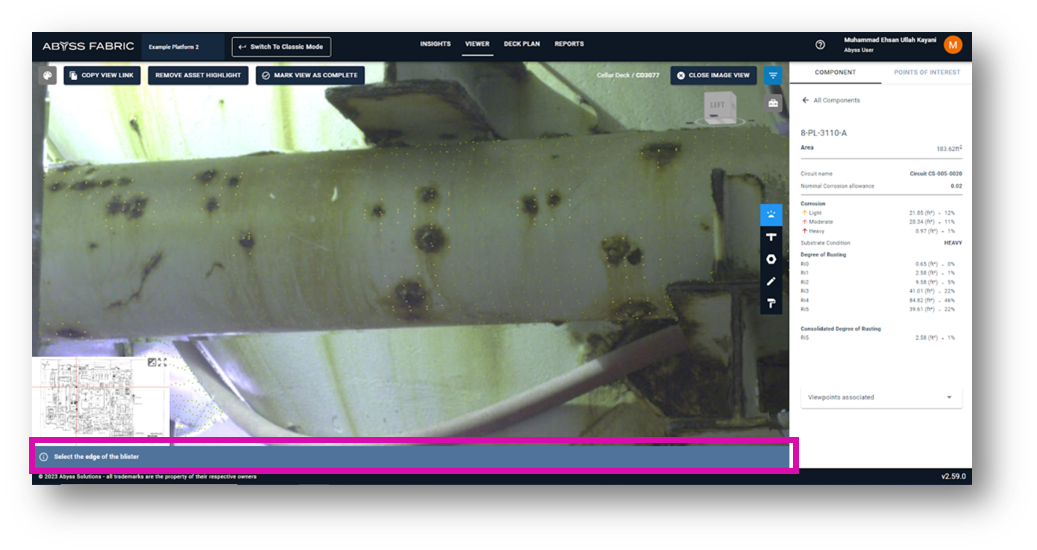
After the first click, you will be asked to click to identify the edge of the blister.
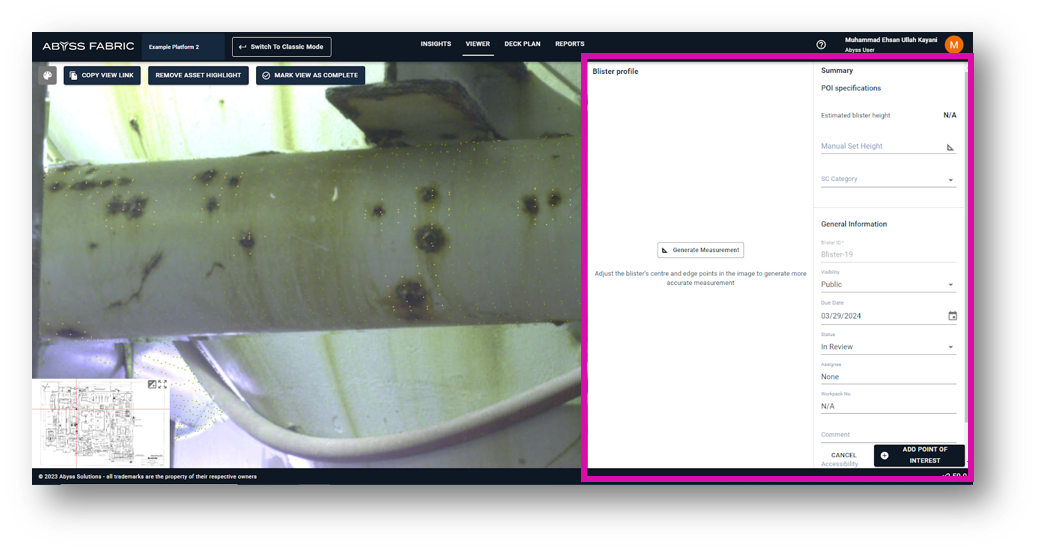
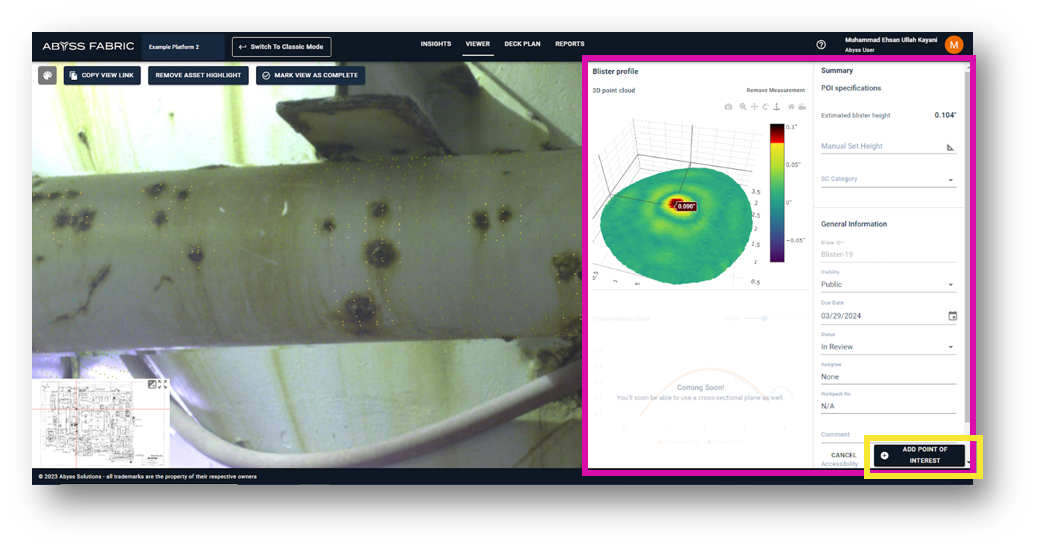
After the second click, a side window will appear. You will then be able to interact with the form fields to generate a Blister Profile.
Once the measurement has been recorded, a 3D Blister Profile of the selected region is generated. You will be able to observe the Maximum Blister Height.
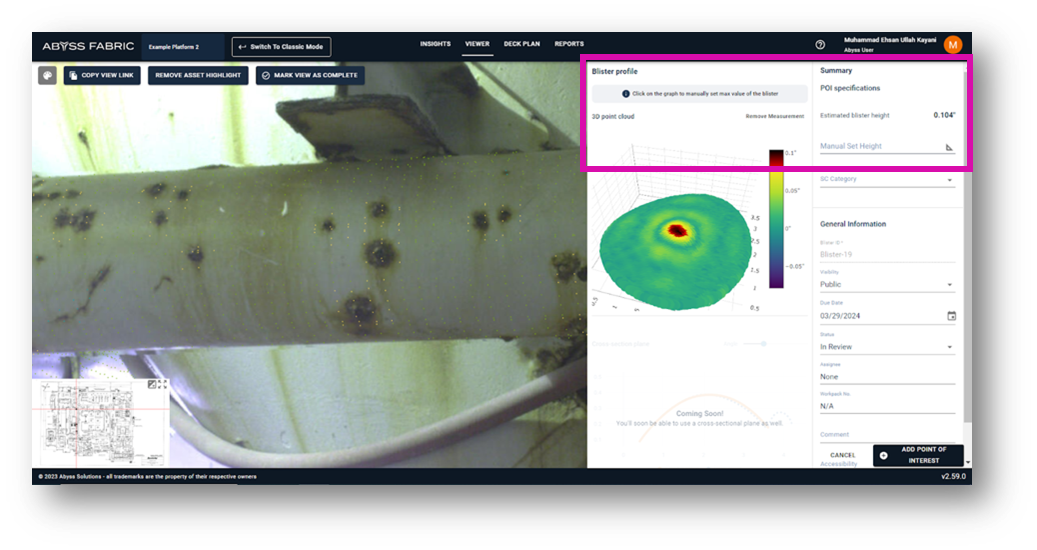
The Maximum Blister Height is automatically generated; however, you have the option to manually set the height if desired. Select the Manual Set Height button and click on the point of the graph you deem the maximum. Click the Add Point of Interest button at the bottom right corner.
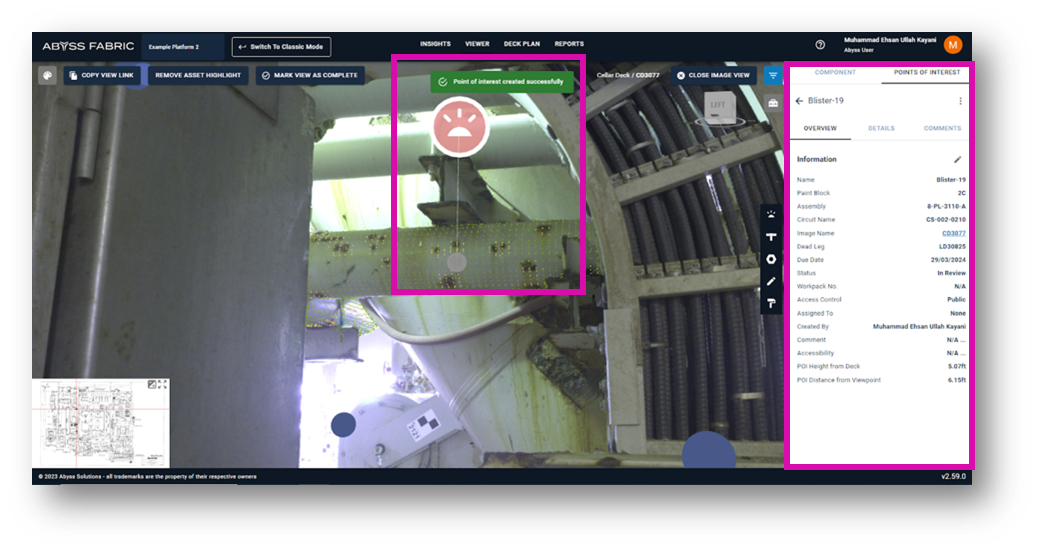
Once the Maximum Blister Height is updated, you can add a Point of Interest indicator. You will receive a notification if the Point of Ineterest was added successfully. A pinpoint will appear in the area identified. The Point of Interest will remain selected by default and its information can be viewed in the side panel when under the Points of Interest tab.
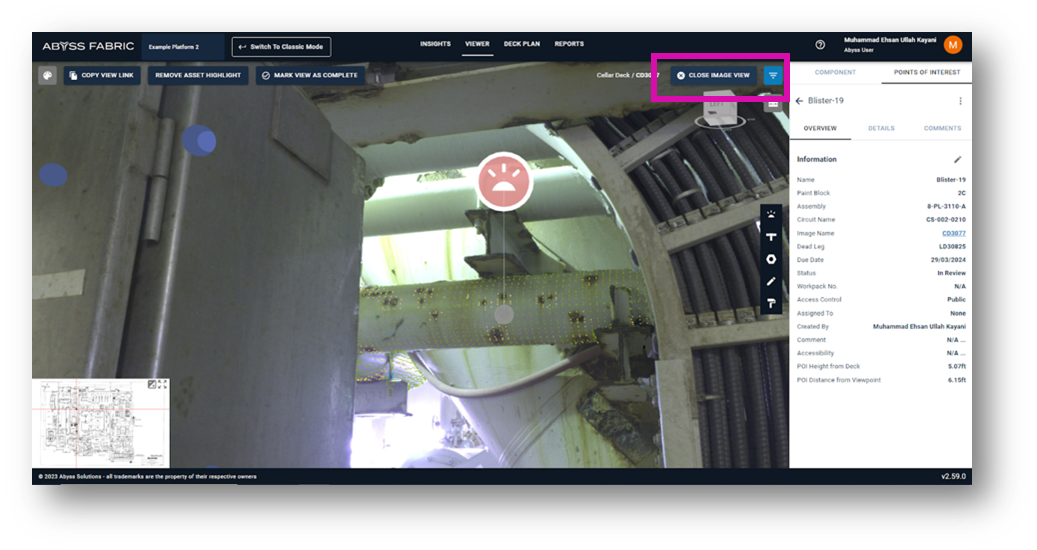
To close the image, you can use the ESC button or select the Close Image View button.
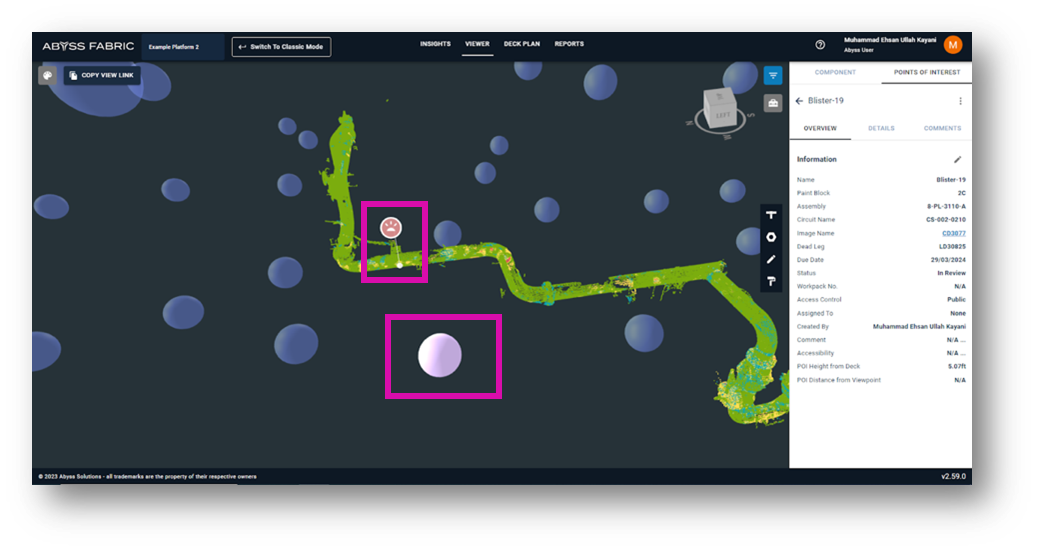
After saving the new Point of Interest, you can see the location of the new dropped pin on the asset within the Viewer tab. A pink sphere represents the last visited image.
To deselect a Point of Interest, click the button before the Point of Interest’s name. The Point of Interest panel will be updated with an accurate count of added findings.
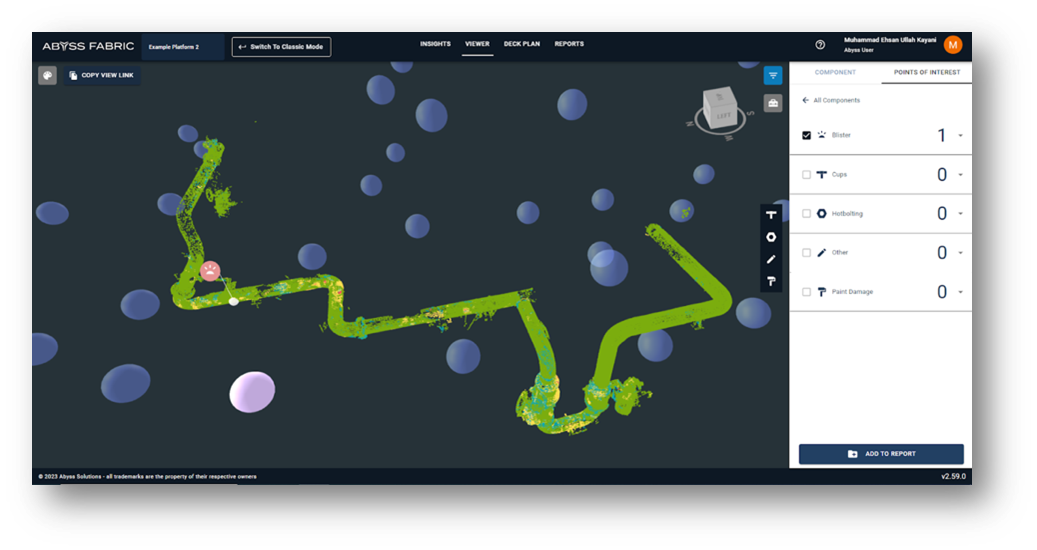
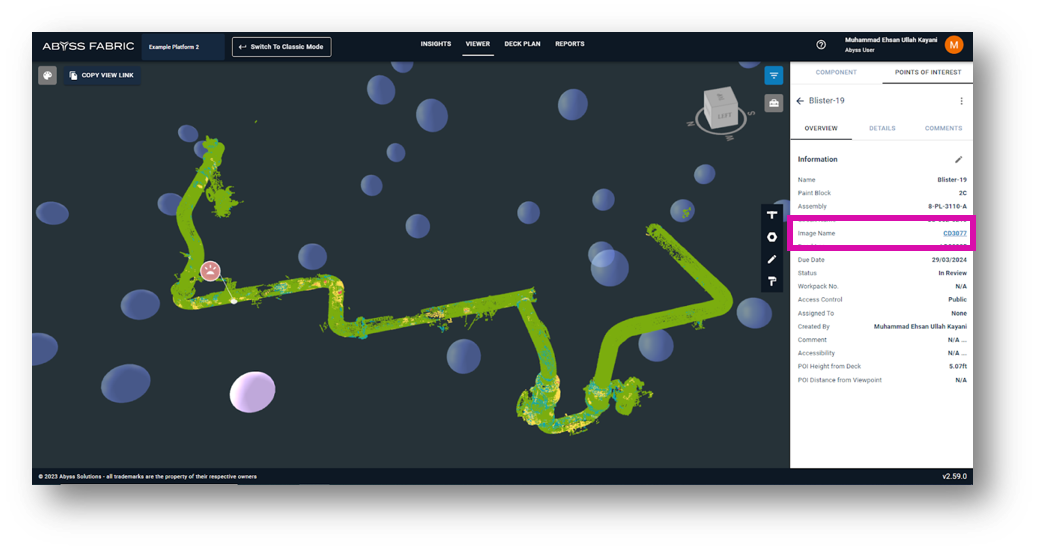
To select a hyperlinked image, click on the name of the image (CD3077 in this example). You will be brought to the exact viewpoint of the specific Point of Interest.
Once in the selected view, you can see other angles of the Point of Interest by clicking any of the blue spheres.
To view the Visibility Settings panel, click the paint palette icon. If you want to view the asset without the icons, you can toggle between views by turning off the Point Cloud and the Points of Interest buttons on the Visibility Settings panel.
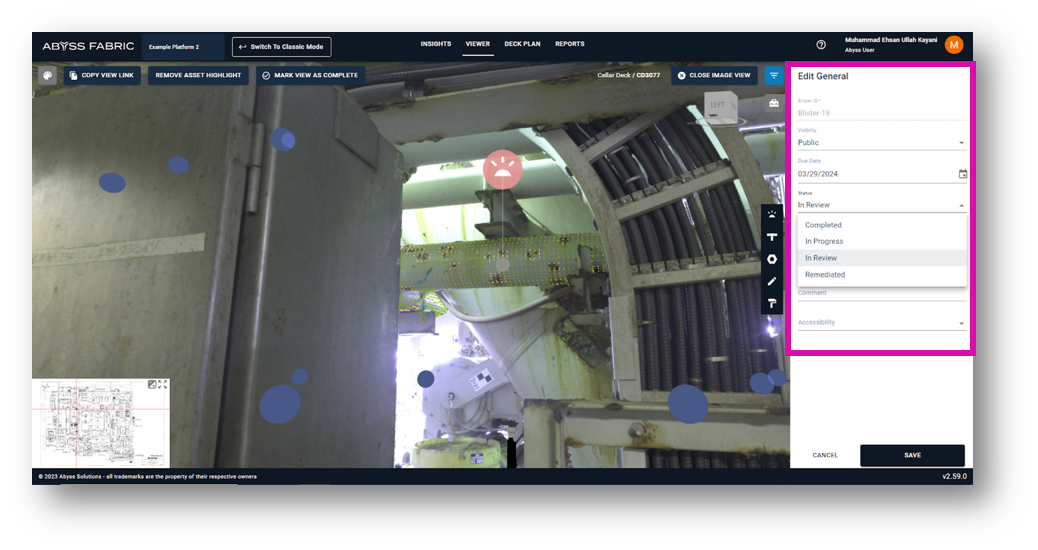
The Overview panel contains high-level information about the asset. Information such as Paint Block Name and Height from Nearest Deck Floor are automatically populated. The fields in the Overview tab can be edited by clicking the pencil icon.
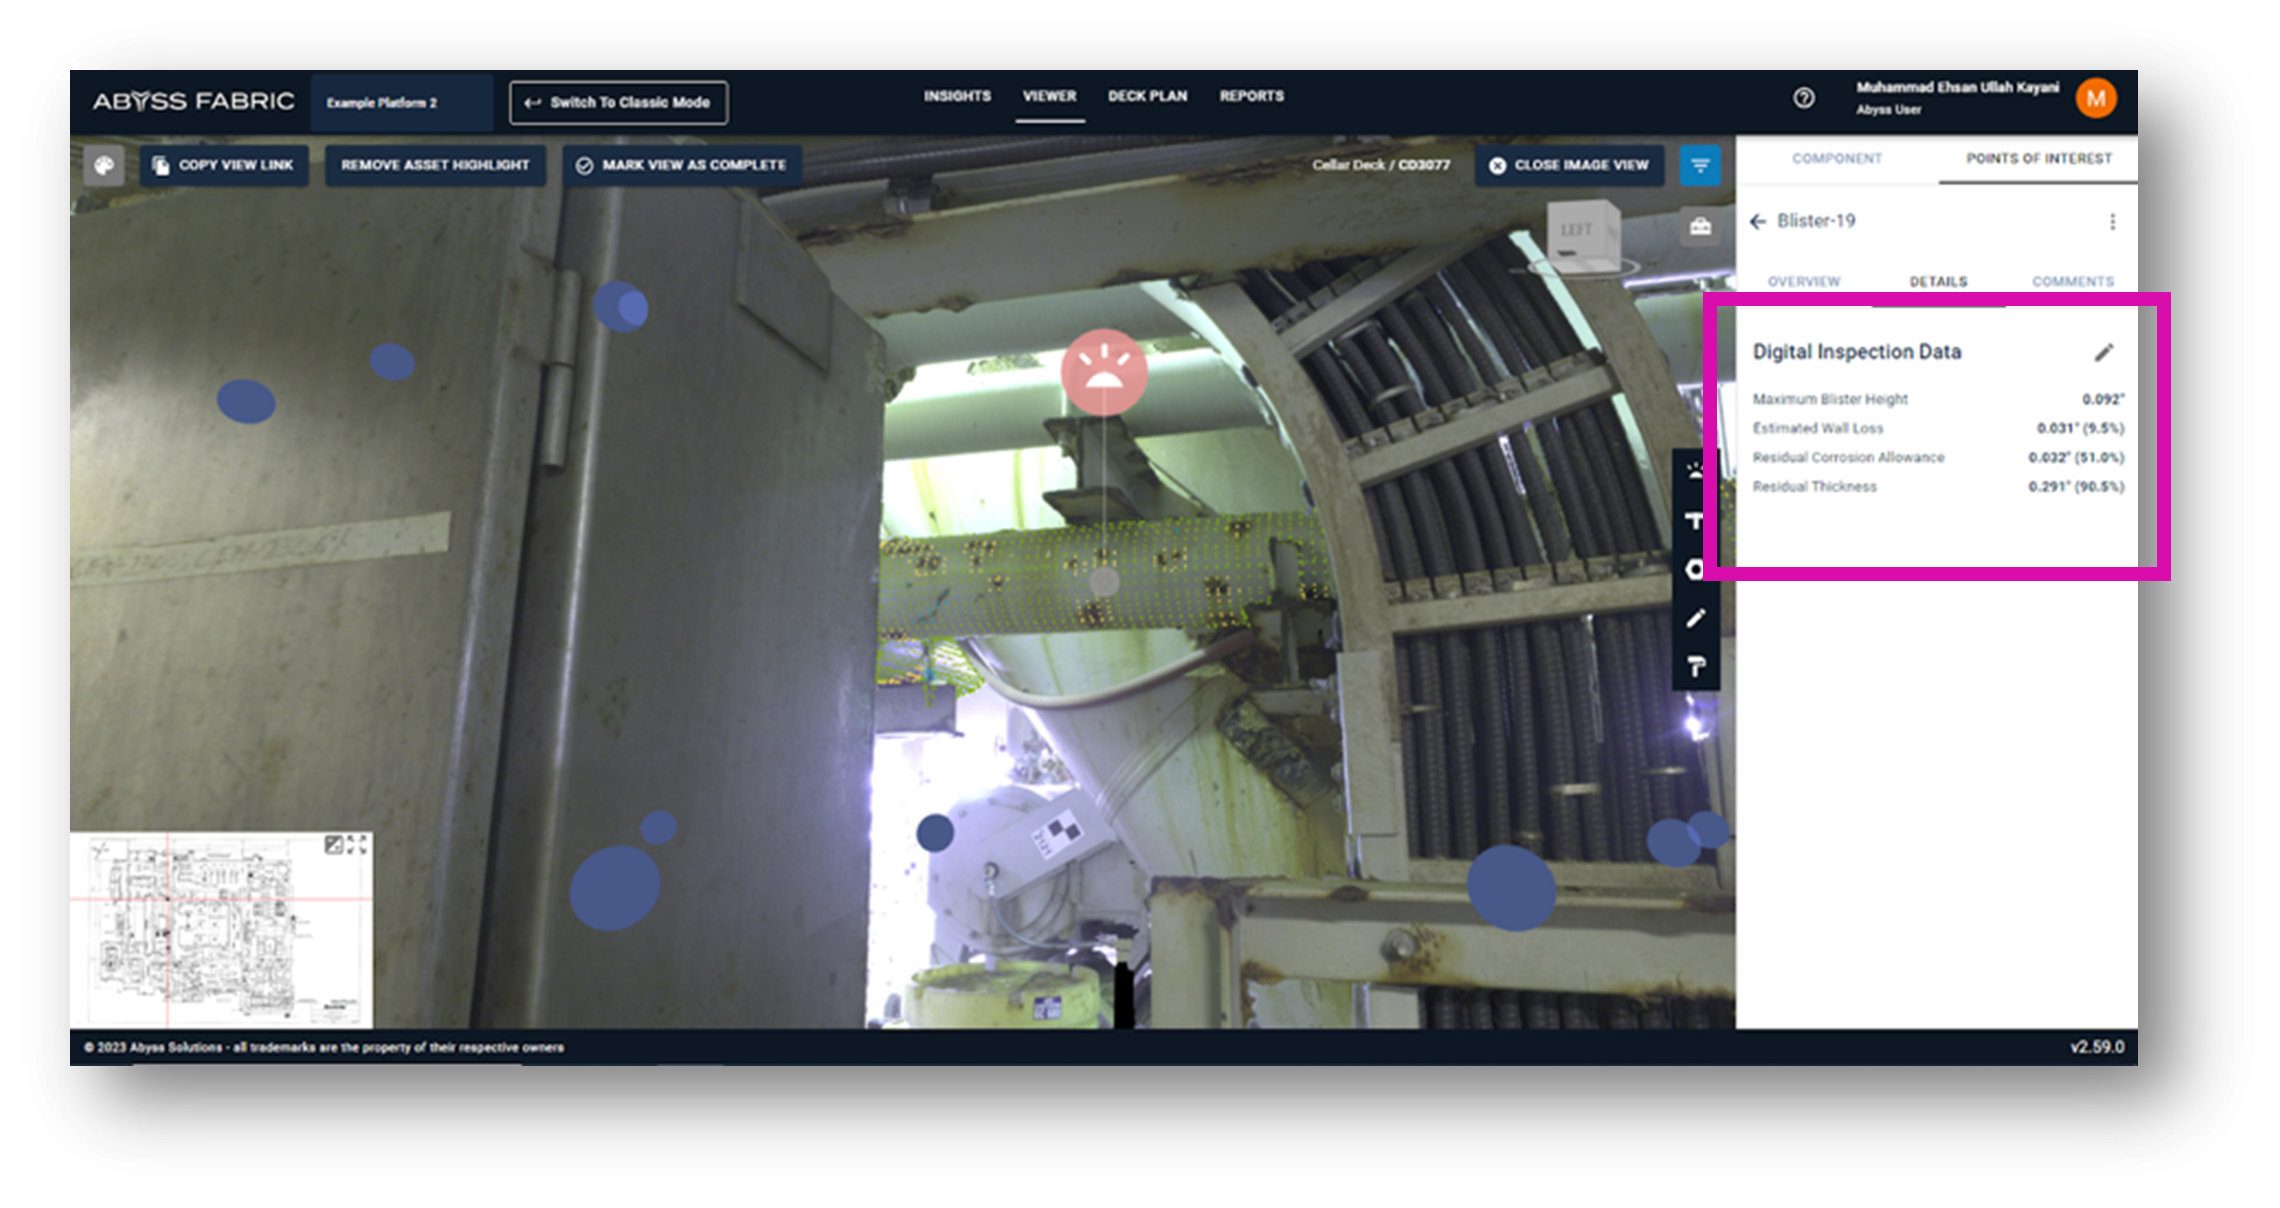
To access more information about the Point of Interest, select the Details tab. There you can see the Maximum Blister Height, Estimated Wall Loss, Residual Corrosion Allowance, and Residual Thickness.
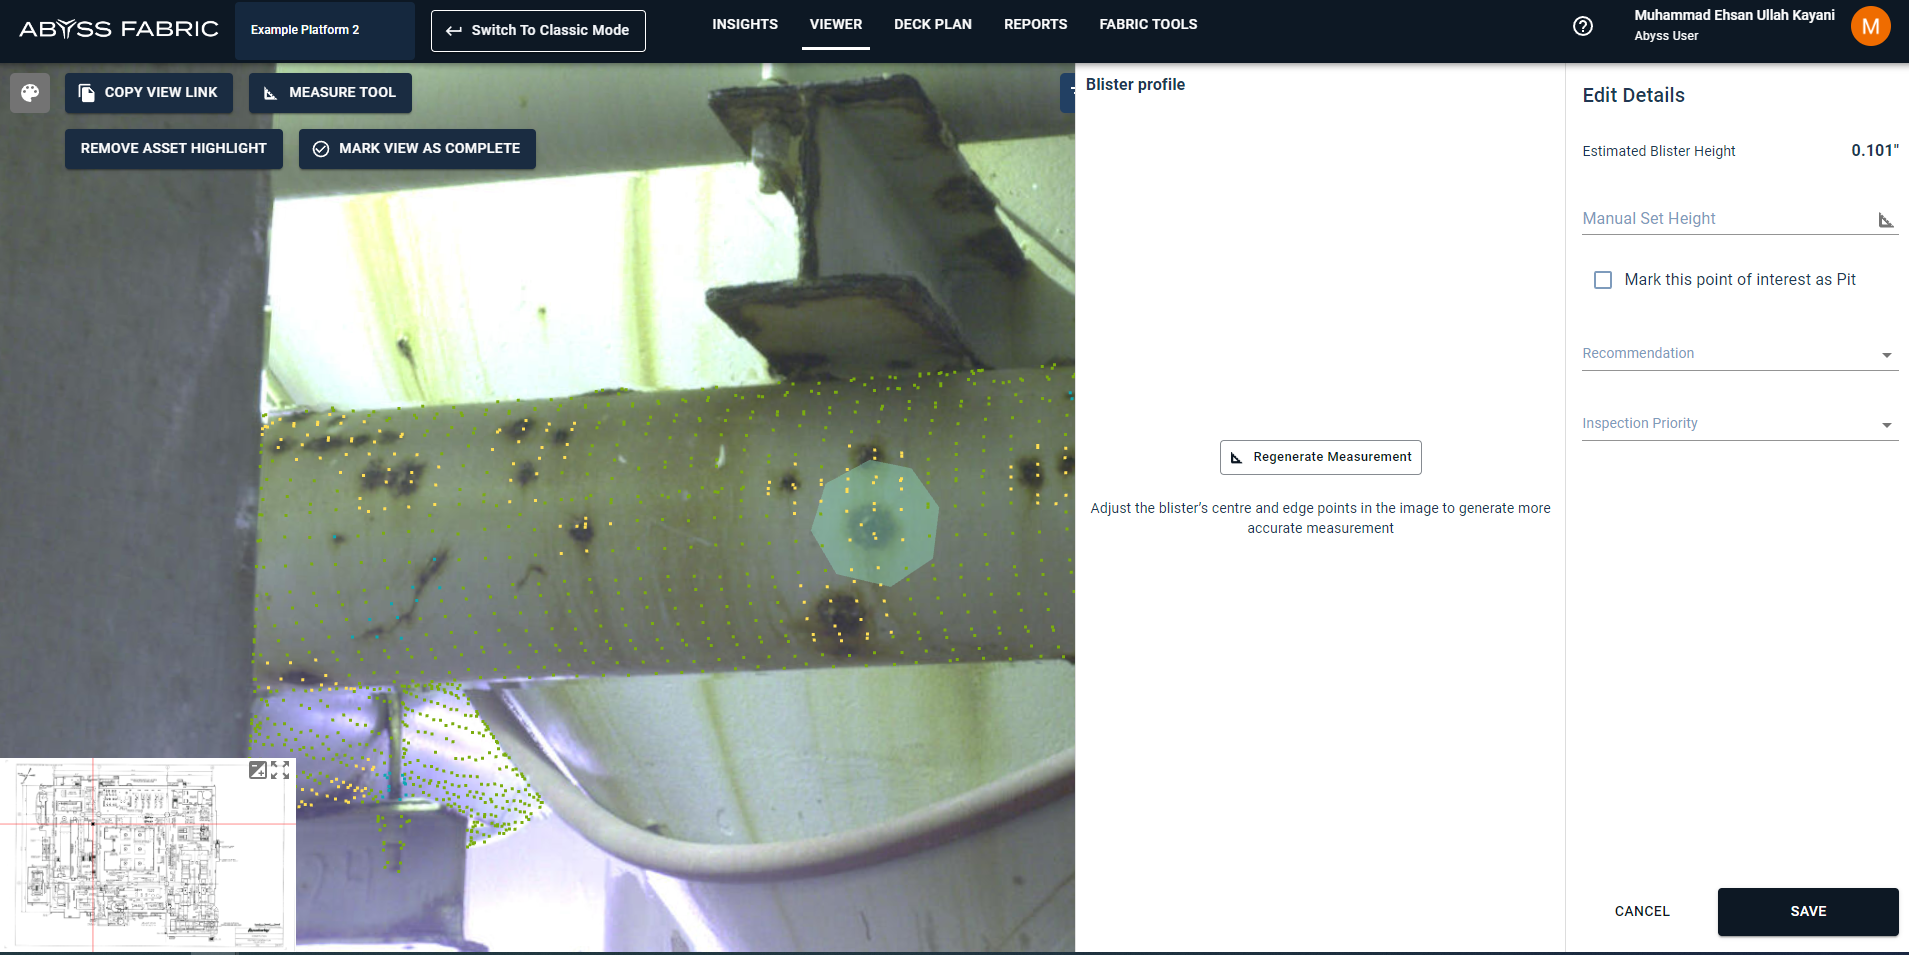
To manually edit the information in the Details tab, click the pencil icon. To review the 3D profile of the blister, click the Regenerate Measurement button. This also enables the 2d polygon on the image which captures the 3D profile
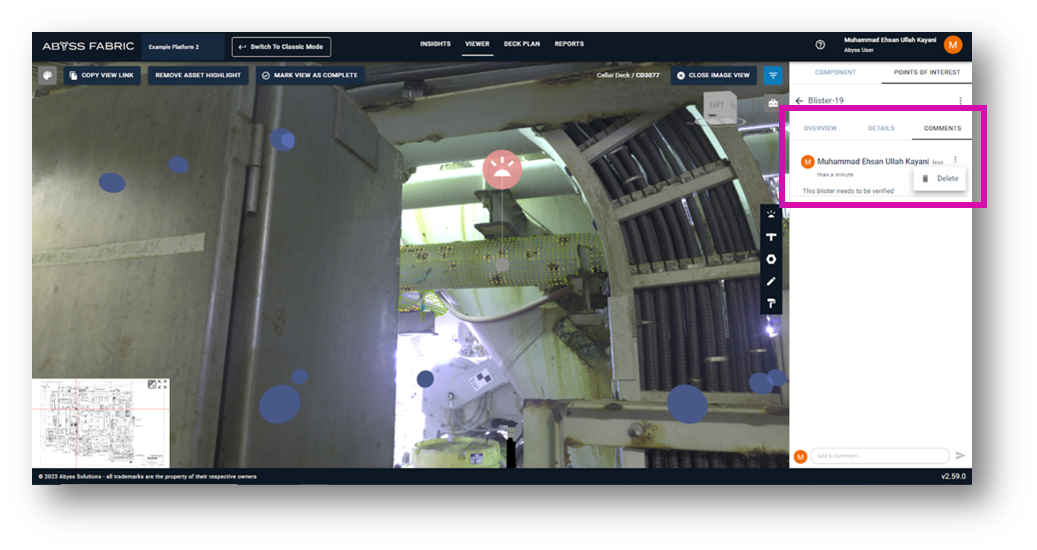
Within the Comments tab of the Points of Interest panel, you can leave and view comments about the selected asset.
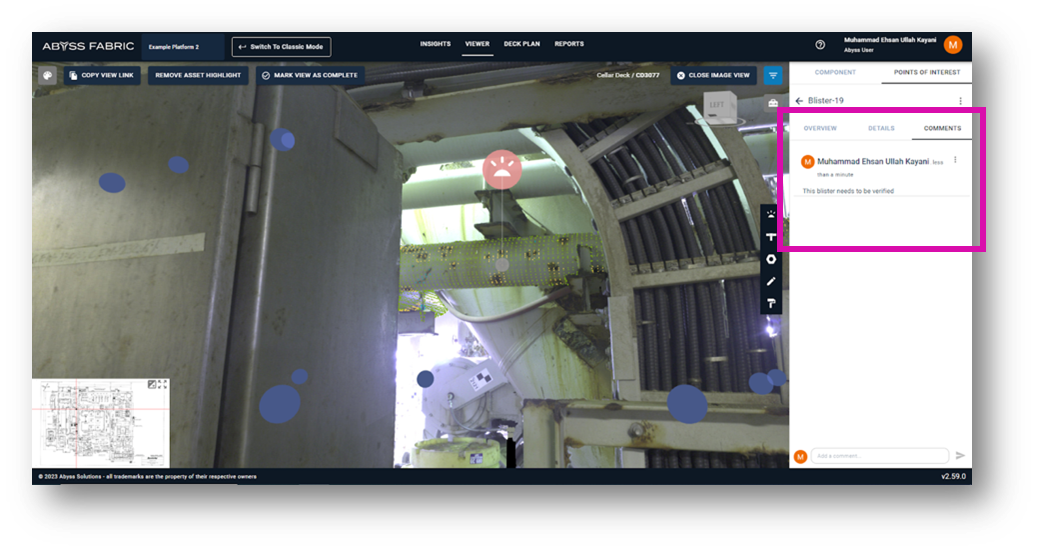
If you need to delete the comment, click the three menu dots next to the editor’s name, and then click delete.
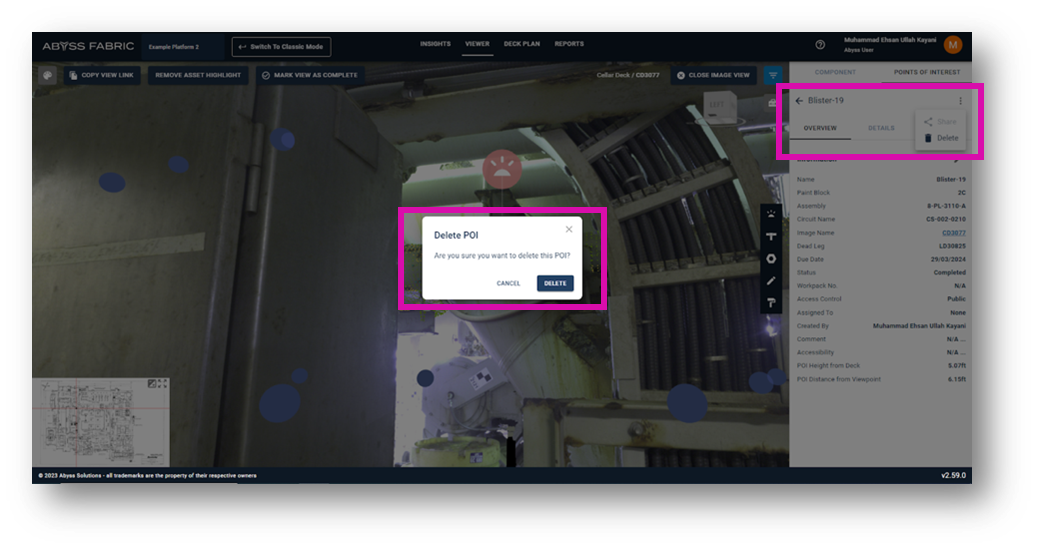
You can also delete any added Point of Interest by clicking on the menu button next to the Point of Interest’s name. You will be prompted to proceed with the action.
